

How to backup your Joplin notes to Koofr
If you are looking for a free, open-source note-taking application which you can backup to your Koofr account, look no further. Joplin app lets you write, edit, tag your notes and more and uses the Markdown format. But the best thing is, you can easily back your notes up to Koofr with the help of the WebDAV protocol.
Written by human for humans
[Updated, Oct 2023: new screenshots added.]
What is the Joplin app?
Joplin is a free, open-source note-taking application, available for desktop on Windows, Linux and macOS as well as for mobile on Android and iOS. The notes that are in the Markdown format are searchable, can be tagged, copied, modified and more in the Joplin app. They can also be backed up to Koofr with the help of the WebDAV protocol.

What is WebDAV protocol?
Abbreviation WebDAV means Web Distributed Authoring and Versioning and is an extension to HTTP protocol - the foundation of data exchanges on the web. And while HTTP is a client-server protocol that lets you view webpages and interact with them, WebDAV goes one step further. It enables a web server to act as a file server and thus allows the user to create, move, copy, edit and delete files and folders.
WebDAV protocol enables remote content reading and editing, and in case of the Joplin app, this means that WebDAV protocol supports a connection between the Joplin app and Koofr. Using this connection you can backup your Joplin notes to Koofr. All changes made on notes in the Joplin app will be visible in your Koofr account as soon as they are synchronised.
How to set up the connection between Joplin and Koofr?
All of the instructions and screenshots were made for the desktop version of the Joplin app.
(1) Download, install and open the Joplin app on your computer.
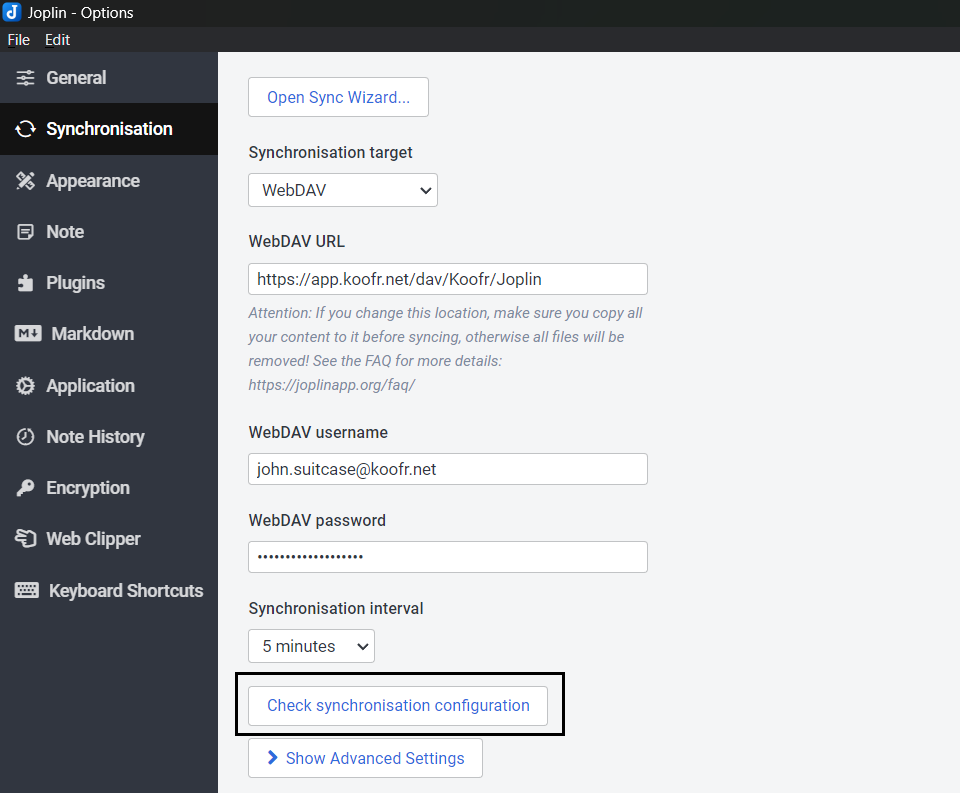
(2) Click on Tools in the upper menu of the Joplin app and select Options from the drop-down menu. The General tab will open by default. Click on the Synchronisation in the left menu.
(3) Once you are in the Synchronisation tab, change the Synchronisation target to WebDAV. Type-in the correct WebDAV URL according to the picture below.

Note: As you can see in the picture above, the usual WebDAV URL for the connection to Koofr includes a subfolder for Joplin notes in this case. This way, your notes will be backed up to the Joplin folder inside your Koofr account and you'll be able to find them easily later on. As seen from the URL, we named our folder Joplin, but you can, of course, change the folder name to anything you wish.
Note: You need to create this folder in your Koofr account manually for your WebDAV connection to work. Follow our instructions and do that in step (5).
(4) Type-in your Koofr account email address into the WebDAV username field of the Joplin app.
(5) Move to your Koofr account for a moment and create a folder for your notes, as we mentioned in step (3). We named our folder Joplin but you can, of course, change the folder name to anything you wish. You will be able to find your Joplin notes in this folder later on.
(6) While you are in your Koofr account, generate a new password to use with the Joplin app. Our video tutorial can help you with that.
You can generate a new password in the Account Settings Menu in Preferences under Password. Scroll down to App Passwords, click into the Generate new password field, name the new password and click Generate. We named our password Joplin as you can see in the picture below.
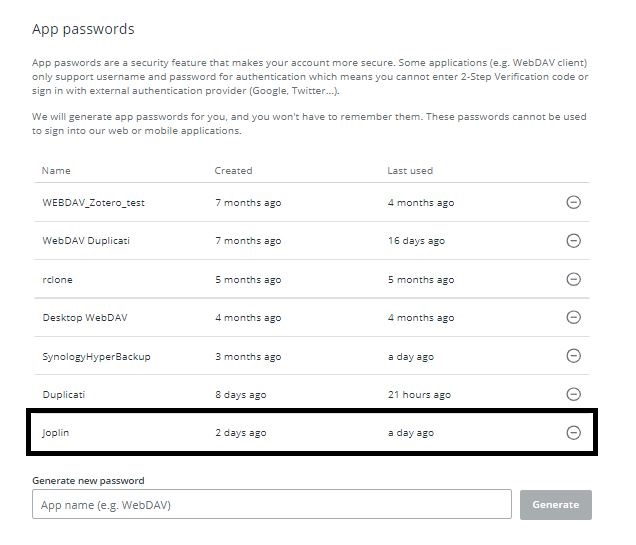
Move back to the Joplin app and use the generated password in the WebDAV password field of the settings.
(7) Once you are done changing the settings, click on Check synchronisation configuration, to see if the connection between Joplin and Koofr works.
(8) You'll receive a notification like the one in the picture below if your WebDAV configuration is correct.

(9) Now it is time to finally create your first Joplin note. Click on Back in the bottom-left corner of the Joplin app to close the settings. Create a new notebook and click on New note to create a new note. Now, you can start writing.
Note: Joplin notes are in the Markdown format.
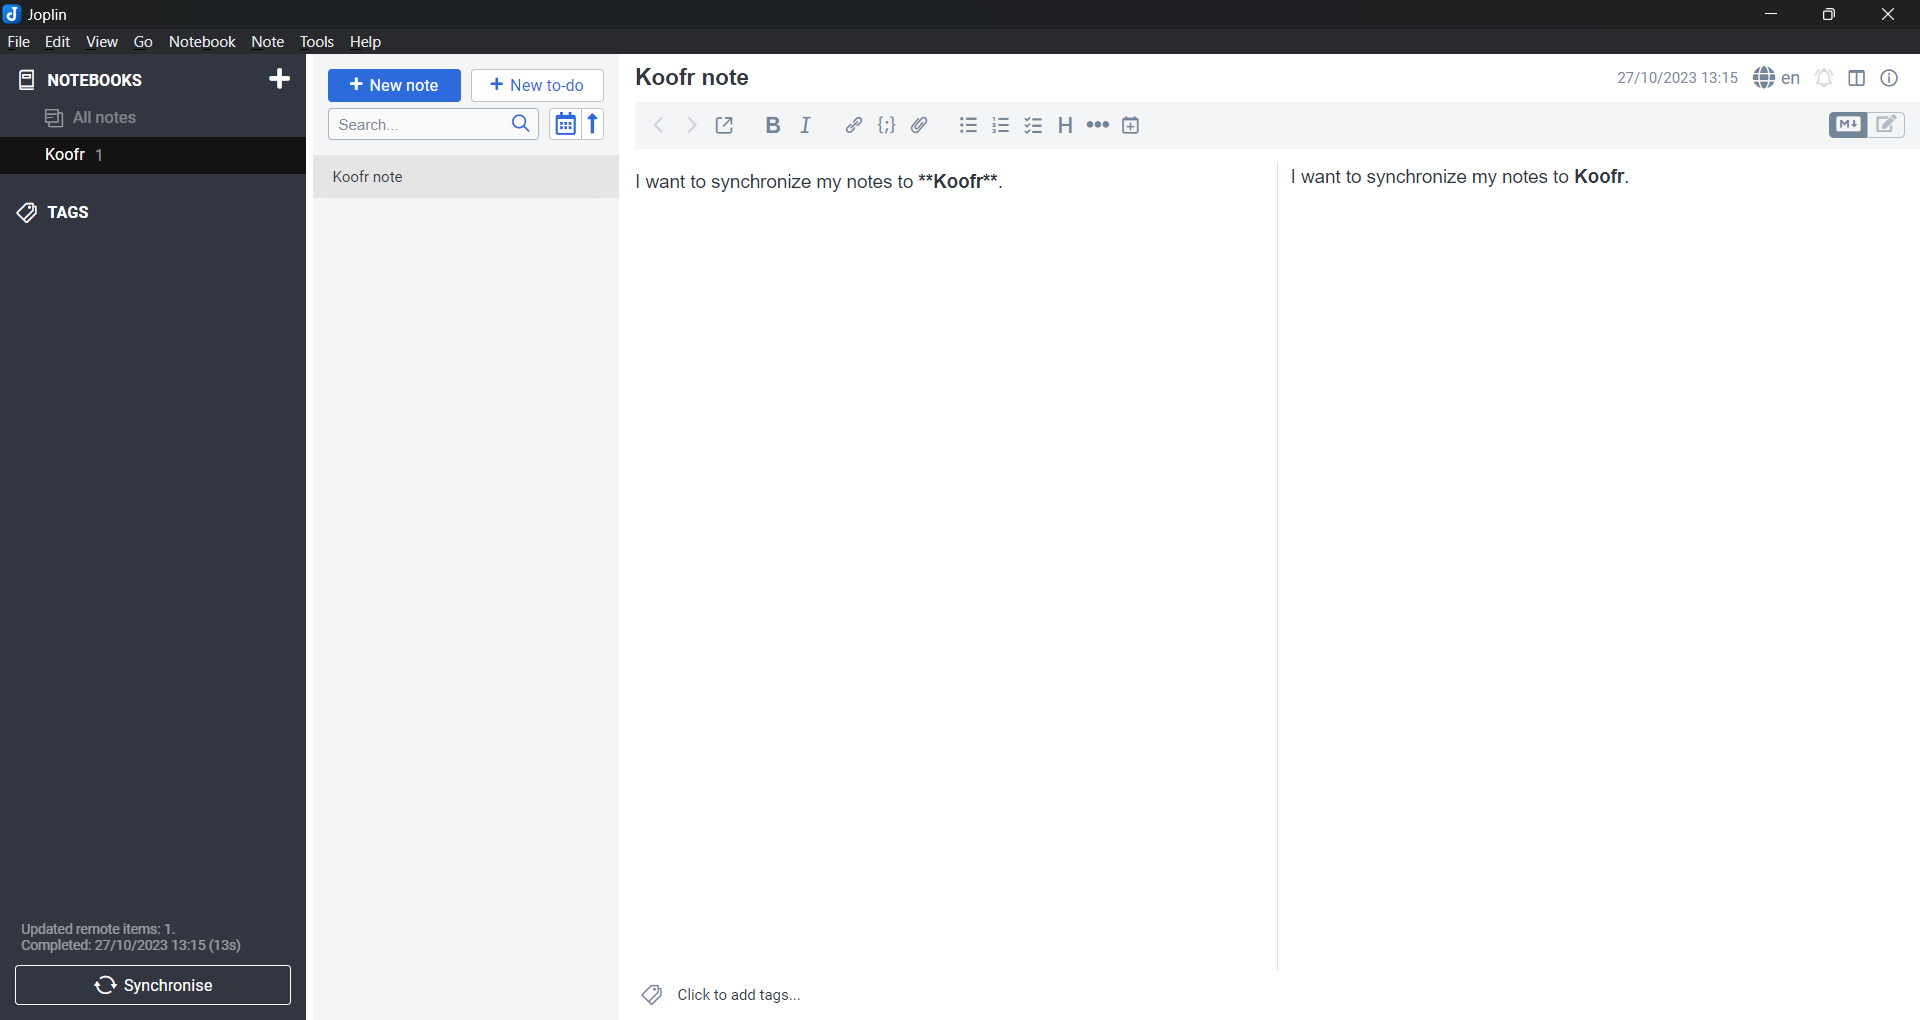
(10) Once you are done writing and editing your note, click on Synchronise in the bottom-left corner of the Joplin app and your notes will be synchronized to the selected folder in your Koofr account.

(11) Open your Koofr account and find the folder you created for your notes. In our case, that is the Joplin folder.
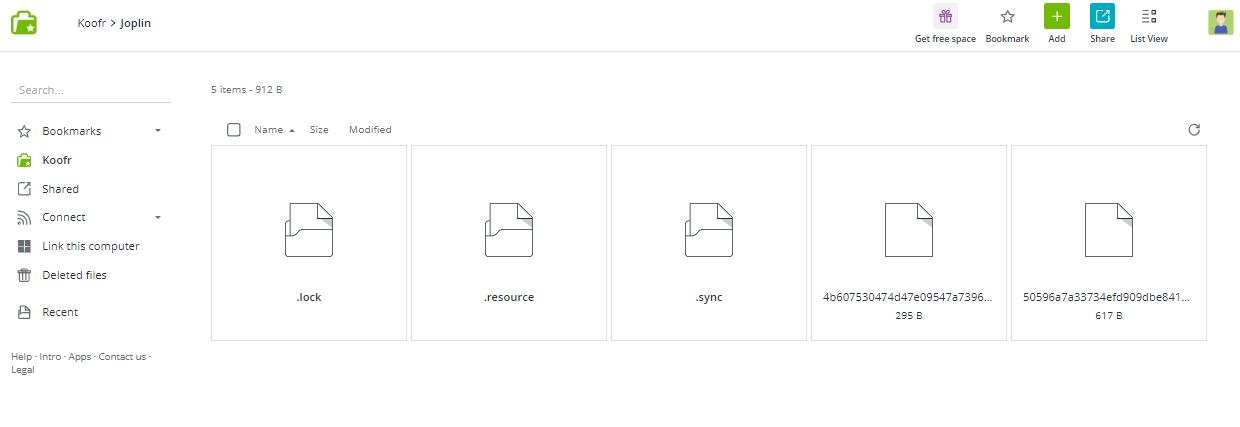
Your notes will be waiting for you there. You can further Edit them with the Koofr text editor and save the made changes by clicking Save in the top-right corner when you are done.
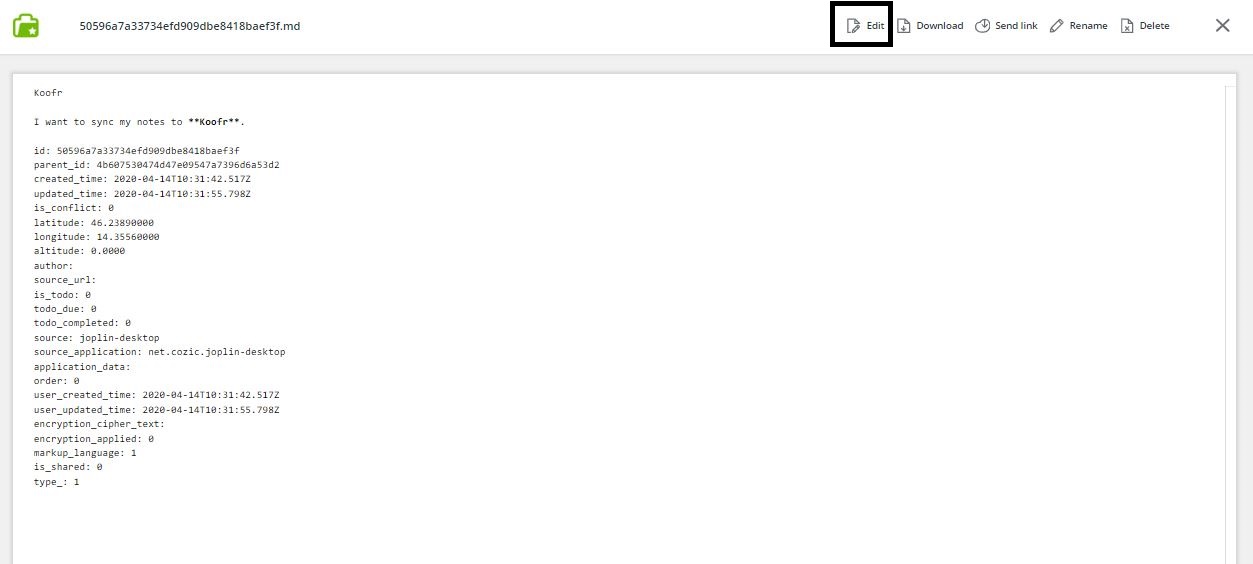
Note: The changes made with the Koofr text editor will not be reflected back to the Joplin app.
Happy note-taking. You can read more about the Joplin app here.
Join us on the Koofr subreddit and become a part of the growing Koofr community!