

How to backup your WordPress site to Koofr with WebDAV
If you are a WordPress website owner you know that regular backups are key. You don't want to lose your content. Will show you how you can use WebDAV protocol to backup your website to your Koofr account with the help of the free and simple WordPress Xcloner plugin.
Written by human for humans
[Updated: Jan 2021: Updated WebDAV settings]
As an owner of a WordPress site, you know that backups are key to keeping your content and website intact. You've probably already asked yourself: "How do I backup my site?", especially if you are new to WordPress. Today we will explain how you can simply set automatic backups of your site to Koofr with the help of WebDAV protocol and a free Wordpress Plugin - Xcloner Backup and Restore. It's really simple, we promise.
What do you need before we start?
(1) A Koofr account.
(2) You need to be the owner/admin of a WordPress website
(3) Xcloner – Backup and Restore WordPress plugin
The Xcloner Backup and Restore is a simple, efficient and flexible plugin which is able to create complete and differential backups of your site, manually or automatically with its built-in scheduler. It also offers the option of encrypting your backups. But the reason we like it so much is the option to upload the backups to a remote storage location with WebDAV protocol. Meaning, you can upload your backups to Koofr easily.
How to set up backups to Koofr with Xcloner?
(1) Download Xcloner Plugin to your computer.
(2) Open your WordPress dashboard and find Plugins in the menu on the left. Click on Add new. You'll see an Upload Plugin option at the top of the page. Click on it. Click on Choose File and browse to the location where your Xcloner .zip file is waiting.
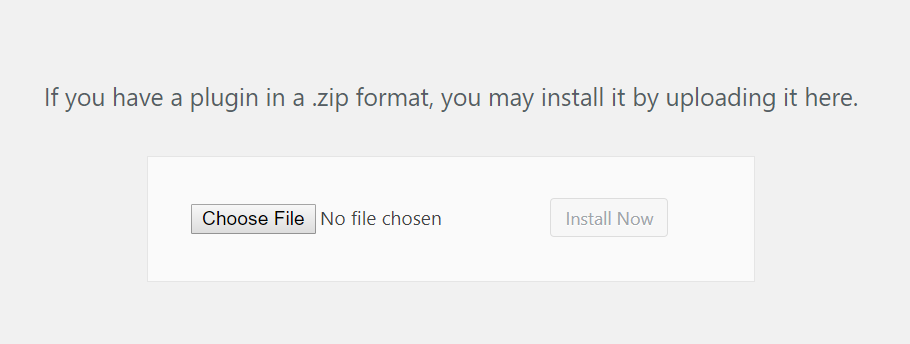
(3) Choose the .zip file and click Install Now.

(4) Once Xcloner is installed you’ll be able to see it in your WordPress Dashboard in the menu under Site Backup.
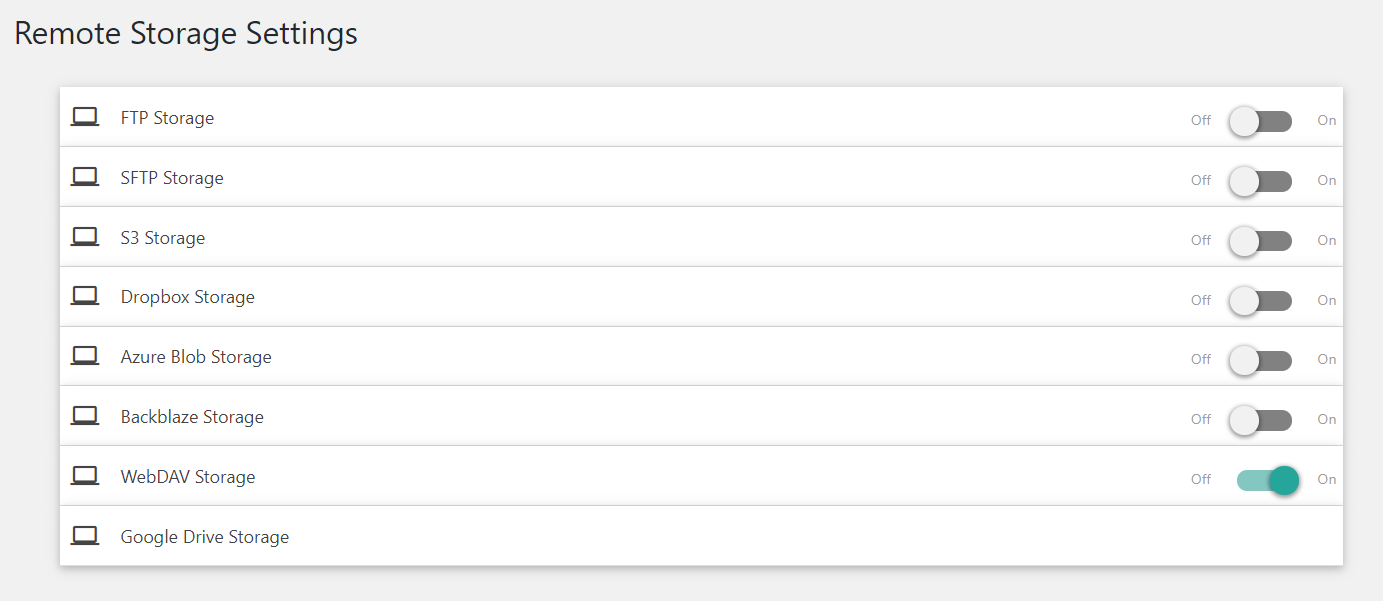
(5) Click on it and select Remote Storage. Find WebDAV Storage on the list and turn it On.
(6) Type in WebDAV settings like they are in the picture below. Your WebDAV Username is the email you use for your Koofr account.

(7) Let's move to your Koofr account for a moment. You will need to generate a new password to use with Xcloner Backup and Restore Plugin and our video tutorial How to generate application-specific passwords for WebDAV connections in Koofr can help you with that.
You can generate a new password in the Account Settings Menu in Preferences under Password.
Scroll down to App Passwords, click into the Generate new password field, name the new password and click Generate. We named our password Wordpress_Backups as you can see in the picture below.
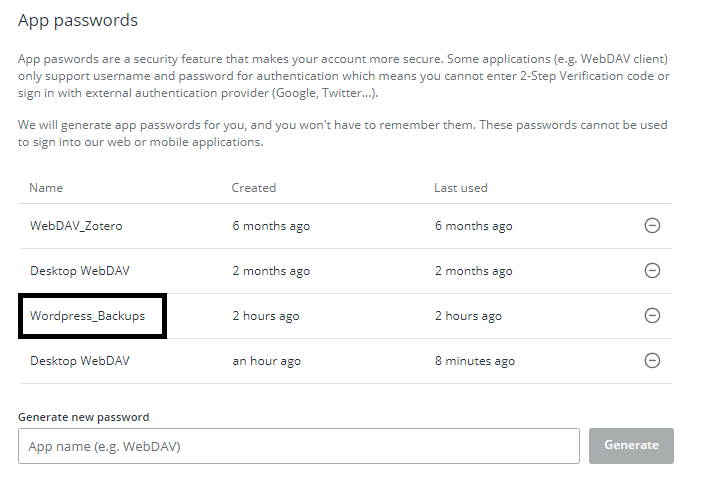
Use this password in the WebDAV Password field in Xcloner Settings.

When you are done click Verify to verify your WebDAV connection to Koofr. You’ll get a WebDAV connection is valid if your settings are inserted properly. Save Settings.
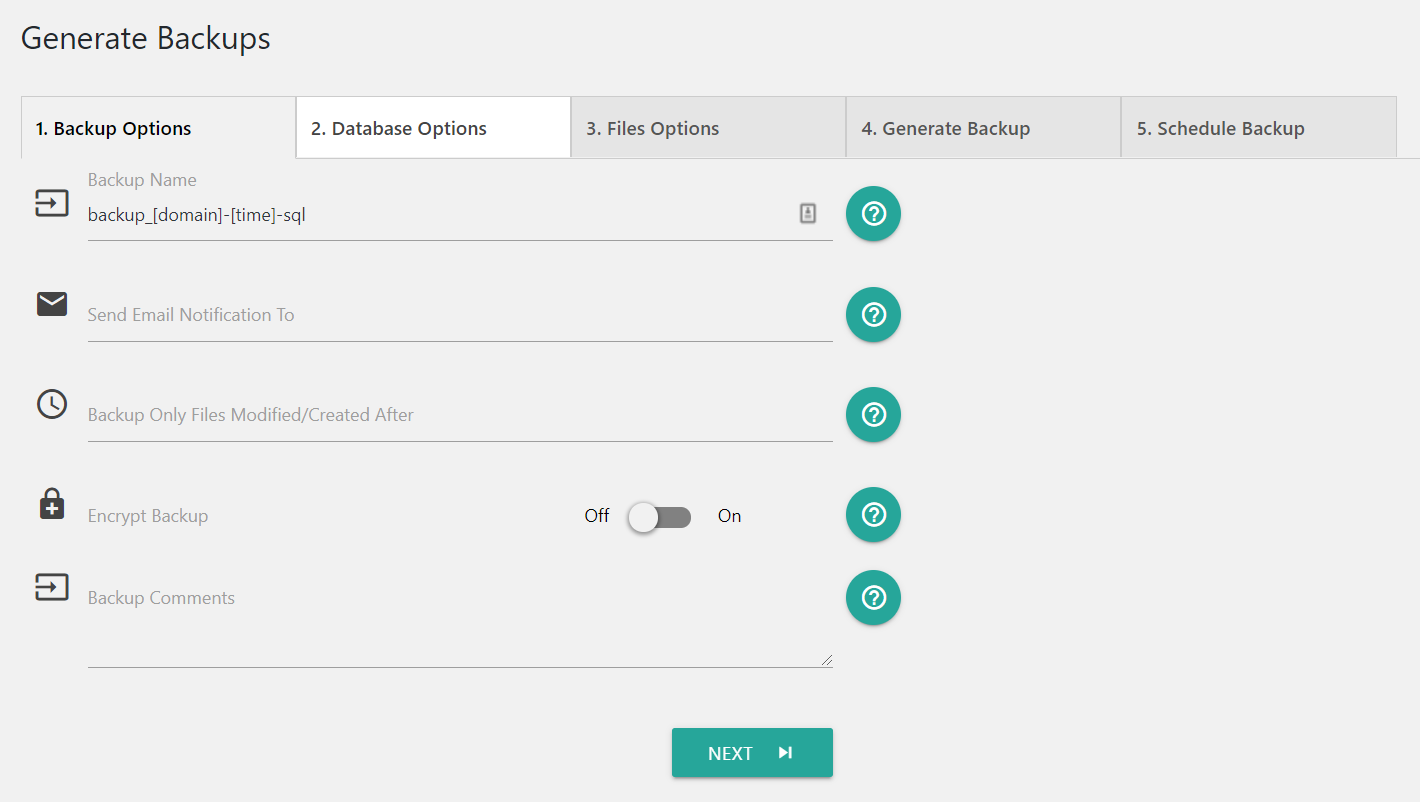
(8) Next, find Generate Backups tab in the menu. There you can create your backup. In the Backup Options you can set the email to which you want to receive backup notifications and turn on Encrypt Backup. When you are done, click Next.
(9) Under Database Options select which database data to include in your backup and under Files Options which files to exclude from your backup. Once you are done changing settings click on Start backup in Generate Backup tab.
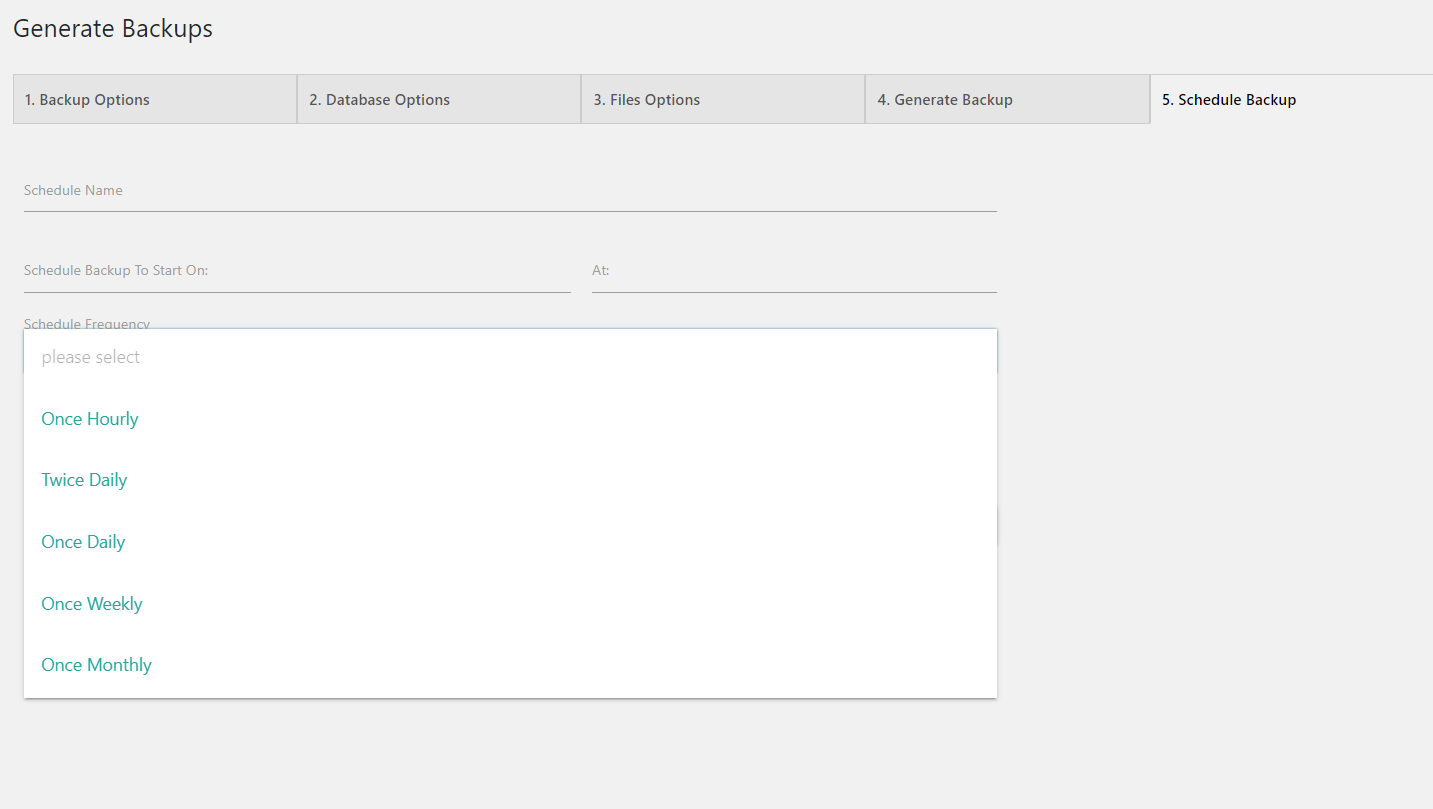
Note: Under Scheduled Backup in Generate Backups you can set automatic backups - either of your database or your files or both. Name your scheduled backup and set the date on which you want your backup to start. Under Schedule Frequency set the frequency of your backups accordingly to how often you change your website. You can select to send your backup to remote storage under Send to Remote Storage. After you create an automatic, scheduled backup you will be able to see it if you click on Scheduled Backups in the menu. You can also edit or delete your backup there.
(10) When you click on Start Backup, Xcloner will start to scan your files and prepare your backup accordingly.

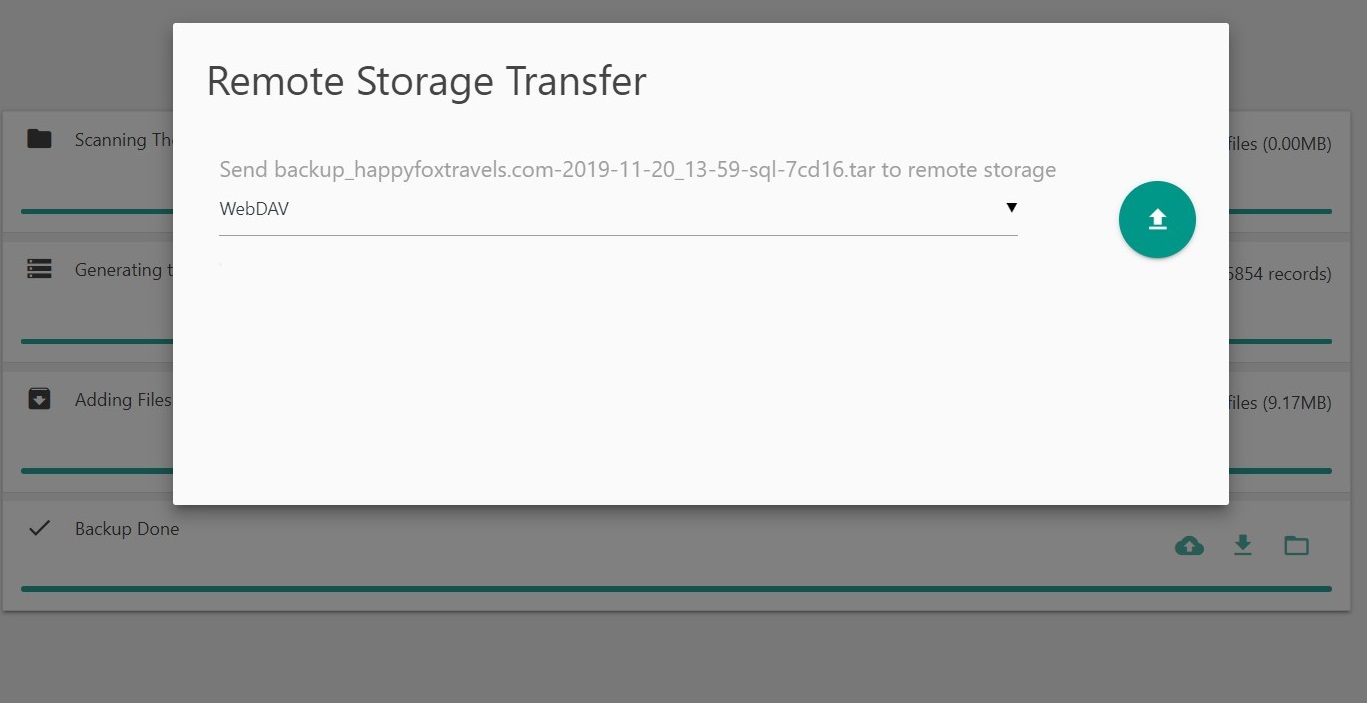
(11) Once the backup is done you’ll have a chance to upload it directly to Koofr. Click on the cloud icon and a window will pop-up. Click on the downward-facing arrow and select WebDAV from the list.
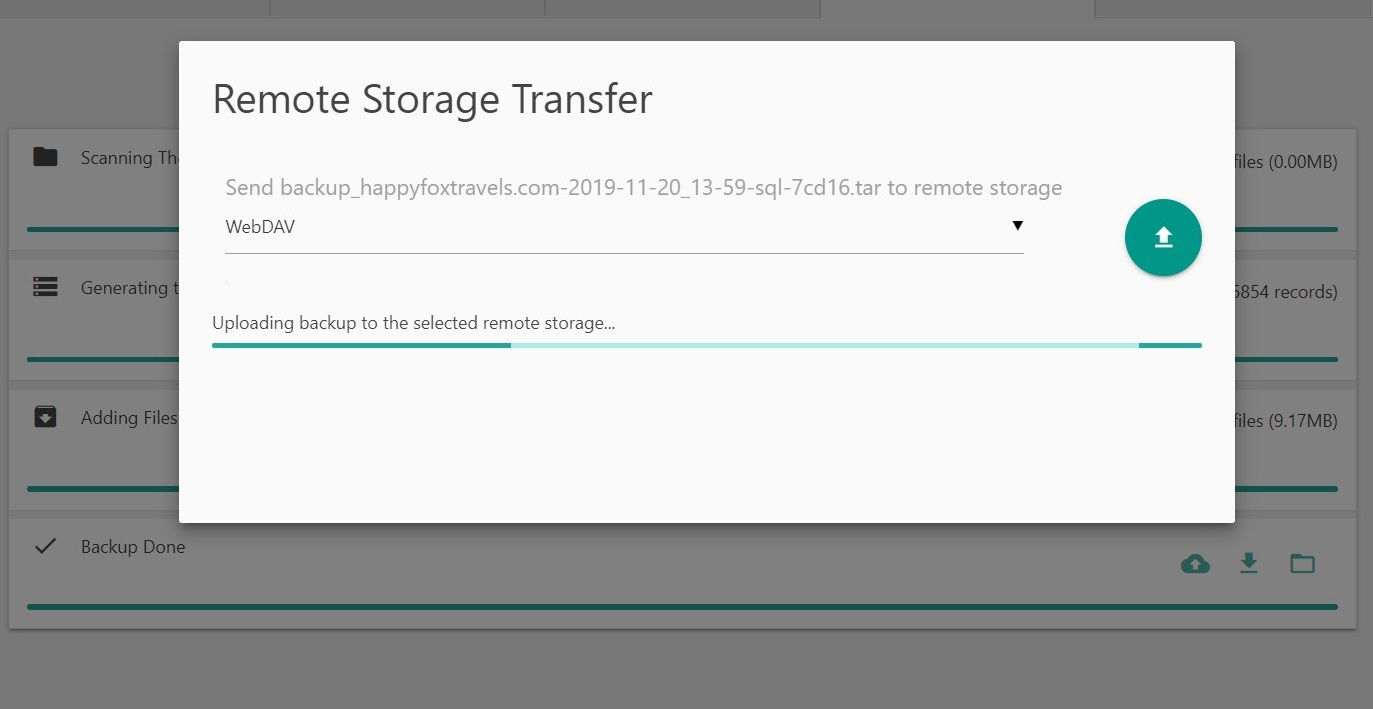
Click on the upward-facing arrow to start the upload to Koofr.
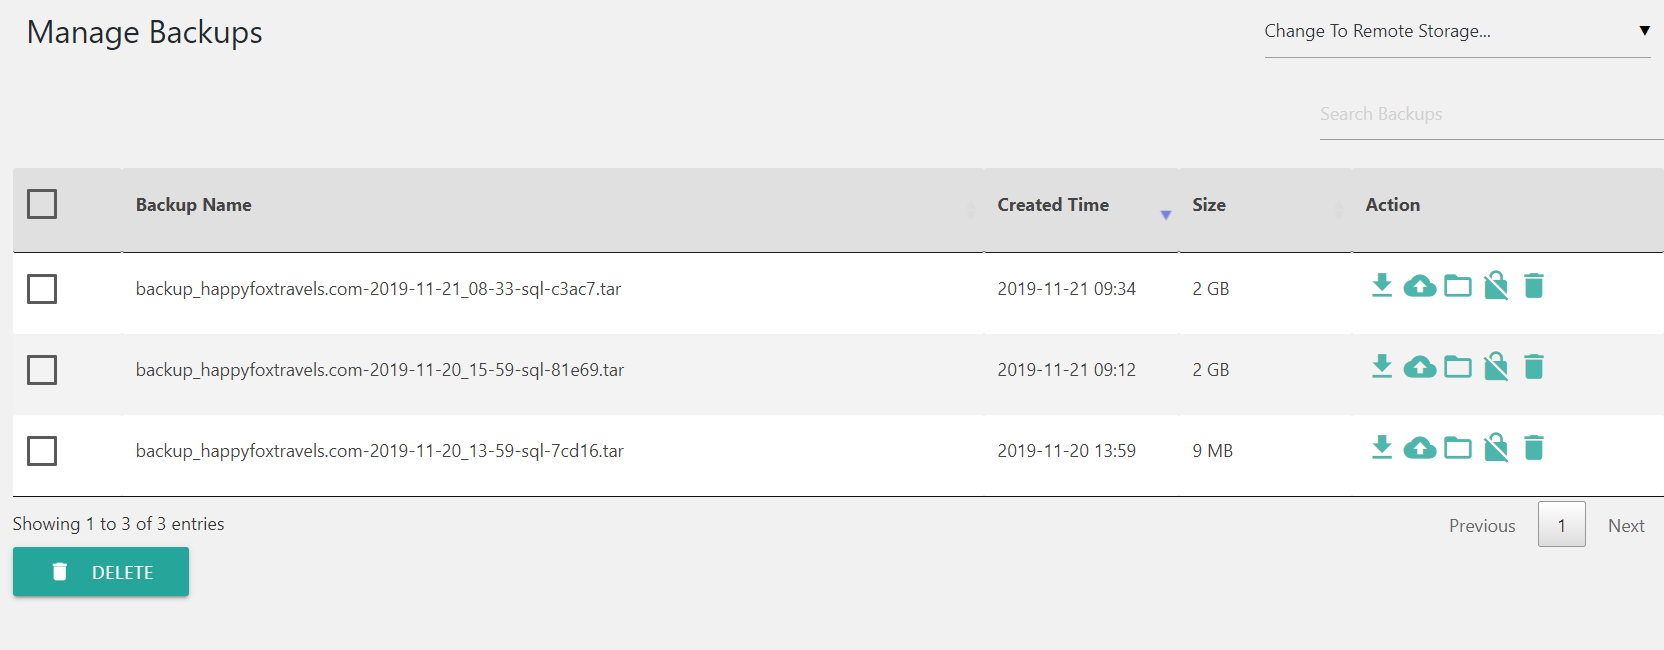
(12) Under Manage backups you can see and manage your current backups stored in local storage and remote storage. You can switch between the two in the top right corner. You can download them, upload them to remote storage, list backup content, delete them or encrypt them.
(13) Under Backup Dashboard you can check the status of your backups and see the details of when your last backup was made, the storage space it used and when can you expect the next automatic backup of your site.
(14) Under Settings in System Options you can exclude files from your backup by size and under Cleanup Options you can select Delete Backup After Remote Storage Transfer.
(15) After you've backed up your WordPress site and sent the backup to Koofr in step (11), you'll find the backup in Koofr's root folder in .tar format.
Note: If you've ever done a backup you know that a great backup is nothing without a great restore. Join us next time and read about restoring your WordPress backup from Koofr with Xcloner Backup and Restore Plugin.
Happy backing up.
Want to talk to us? Join us on the Koofr subreddit!