

How to set up client-side encryption of your Koofr files with rclone
How to use the rclone command-line tool for client-side encryption of your Koofr files? Rclone lets you manage and sync files to and from Koofr, but it also allows you to add encryption to your files and increase their safety. Follow our step-by-step guide and enjoy additional layers of protection inside Koofr.
Written by human for humans
2023 update: rclone is compatible with Koofr Vault, your client-side encrypted folder in your Koofr cloud storage. You can use rclone to encrypt or decrypt files just like you would using Koofr Vault - all you need is your Safe Box configuration, including your Safe Key and Salt.
What is rclone?
It is an open source command-line tool that can sync, move, copy, and perform other file operations on your Koofr files. You can use it to create backups of your data or to simply store your files in your Koofr account, optionally adding encryption. But, assuming you are not a rclone beginner, today we will show you how to use rclone for client-side encryption of your Koofr files.
Note: If you are a rclone beginner, we suggest you read our previous post on rclone first.
Why do we recommend using rclone?
Client-side encryption solutions, if they are truly to achieve their purpose, also bring serious limitations to a service like Koofr. Most of the average users are not willing to give up on some of the features in return for extra security. We are big proponents of privacy and security and we are aware that client-side encryption is an important part of ensuring security. We are also aware that there is a certain percentage of advanced users who want additional protection and are willing to accept the added complications that it brings, such as lack of previews, streaming and sharing options. We wanted to give these users that extra capabilities.
Our first idea was, to incorporate client-side encryption into our product, which remains a long-term plan. But, after looking at the competition, we found that most of our competitors are doing client-side encryption in a way that does not agree with our views of privacy. Namely, most services that boast client-side encryption have this embedded in a completely closed-source system. Users must therefore blindly trust such a company and have no way of verifying that the company did not simply add its "master" password when encrypting, thus completely overriding the basic purpose of such a tool. We don't want to do client-side encryption this way ourselves, and introducing good open-source encryption that is easily verifiable by the community and yet built into our otherwise closed-source sync is not such an easy and quick feat. So we decided on a slightly different route.
We started working with rclone, developed by a small community of enthusiasts. It enables connection to various cloud services. We have provided official support for the Koofr API in rclone, which we also maintain on a regular basis. The advantage is that rclone is a fully open-source and community-verified solution that, among other things, enables transparent encryption on the user side. Thus, the users do not need to have any confidence in our system, as they can see exactly what is happening with their files.
General note for using rclone with Koofr: Do not use --copy-links option with rclone when copying or syncing files to Koofr, since you might end up infinitely uploading your files over and over again if a cycle in the filesystem is induced by your symlinks or junction points.
Now, let's start encrypting.
(1) How can you encrypt the rclone config file when you are creating a remote connection?
Why should you even encrypt your rclone config file?
Encrypting your config file is useful if you are you using rclone on a computer you don’t control. Unless you trust the host enough to know they aren’t going to be looking at your rclone data. You can encrypt the rclone config file when you are creating a remote connection, like in the textbox below.
rclone config
No remotes found - make a new one
n) New remote
s) Set configuration password
q) Quit config
n/s/q> s
Select option s + Enter to encrypt your config file. You'll get a message like the one below.
Your configuration is not encrypted.
If you add a password, you will protect your login information to cloud services.
a) Add Password
q) Quit to main menu
Proceed with creating a password for your config file by selecting a + Enter.
(2) How can you encrypt your files in Koofr with rclone?
You want to encrypt the files you have in Koofr while the files stay decrypted on your computer. First, you'll need to create a new remote. You can see how to do that in our previous blogpost. Once you have created a remote you can go to the next step, which is creating a crypt remote on top of the Koofr remote.
What does the crypt remote do?
It takes care of encryption and decryption of your data, while everything else (the actual downloading and uploading) is done by your normal remote. So, once you have created a koofr remote, run rclone config again.
rclone configWe named our crypt remote koofrenc, so we can easily differentiate between our two remotes. Proceed with creating a new remote normally. But this time, when you are presented with a list of storage options, find the option Encrypt/Decrypt a remote on the list and select it (it is currently under number 10, but be sure to double-check it ). You'll see a text like the one below.
** See help for crypt backend at: https://rclone.org/crypt/ **

Remote to encrypt/decrypt.
Normally should contain a ':' and a path, eg "myremote:path/to/dir",
"myremote:bucket" or maybe "myremote:" (not recommended).
Enter a string value. Press Enter for the default ("").
remote>
Type in the path Koofr:/encrypted + Enter. This will create a new folder named encrypted inside your Koofr account, as soon as you execute your first copy command. The encrypted folder is where all of your encrypted data will go later. Basically, with this, we configured a special folder named encrypted for the encrypted data since rclone has problems dealing with the contents of a remote that includes encrypted and unencrypted data. This means that the crypt command will be able to write and read only inside the encrypted folder.
remote> Koofr:/encryptedHow to encrypt the filenames
Enter a string value. Press Enter for the default ("standard").
Choose a number from below, or type in your own value
   / Encrypt the filenames.
 1 | See the docs for the details.
   \ (standard)
 2 / Very simple filename obfuscation.
   \ (obfuscate)
   / Don't encrypt the file names.
 3 | Adds a ".bin" extension only.
   \ (off)
Select number two to encrypt the filenames, by typing in 1 + Enter.
filename_encryption> 2
Option to either encrypt directory names or leave them intact.
Enter a boolean value (true or false). Press Enter for the default ("true").
Choose a number from below, or type in your own value
 1 / Encrypt directory names.
   \ "true"
 2 / Don't encrypt directory names, leave them intact.
   \ "false"
Select number one to encrypt directory names, by typing in 1 + Enter.
directory_name_encryption> 1
Password or pass phrase for encryption.
y) Yes type in my own password
g) Generate random password
n) No leave this optional password blank
y/g/n> g
We chose the randomly generated encryption password. You can select its strength in the next step.
Password strength in bits.
64 is just about memorable
128 is secure
1024 is the maximum
Bits>
We chose the middle option - 128 strength in bits.
Note: You need to save this password into your password manager. If you don't have it your files are useless.
You will be offered to generate a password for salt aka the second password. This is optional, but we recommend you do it, with the strength of 128 bits.
Password or pass phrase for salt. Optional but recommended.
Should be different to the previous password.
y) Yes type in my own password
g) Generate random password
n) No leave this optional password blank
y/g/n>Note: You need to save this password into your password manager. If you don't have it your files are useless.
You can list files for the Koofr's encrypted remote and see the file names normally in rclone (rclone ls koofrenc: + Enter will list the files in rclone), while they are jammed in Koofr. In the picture below you can see the Koofr view, where the file names are encrypted.

A cool command that deserves a mention here is also this one:
rclone listremoteswhich helps you view all of your remotes.
Note: Once you configure your crypt remote, you can use both - your normal remote (koofr) and your crypt remote (koofrenc) normally. Be careful when choosing a remote, so you select the correct one.
(3) How to operate with encrypted files?
Copying your files from your computer to the encrypted folder in Koofr
I created a new folder inside the folder where rclone is unpacked on my computer and named it Blogphotos.
To copy files from your computer to Koofr and encrypted them in the process type this into rclone:
rclone copy Blogphotos koofrenc:
rclone copy "folder name on your computer" "rclone encrypted remote name:"
and you'll see newly encrypted files appear in the Koofr:/encrypted folder we created before.
Note: The copy command skips all of the files that were already copied previously if there are any. It only copies the new files.
If you want to copy your files into a subfolder named blog you can also type this into rclone:
rclone copy Blogphotos koofrenc:/blog
rclone copy "folder name on your computer" "rclone encrypted remote name":/"subfolder name"
Note: The only thing you'll see in Koofr until you decrypt your files is this:
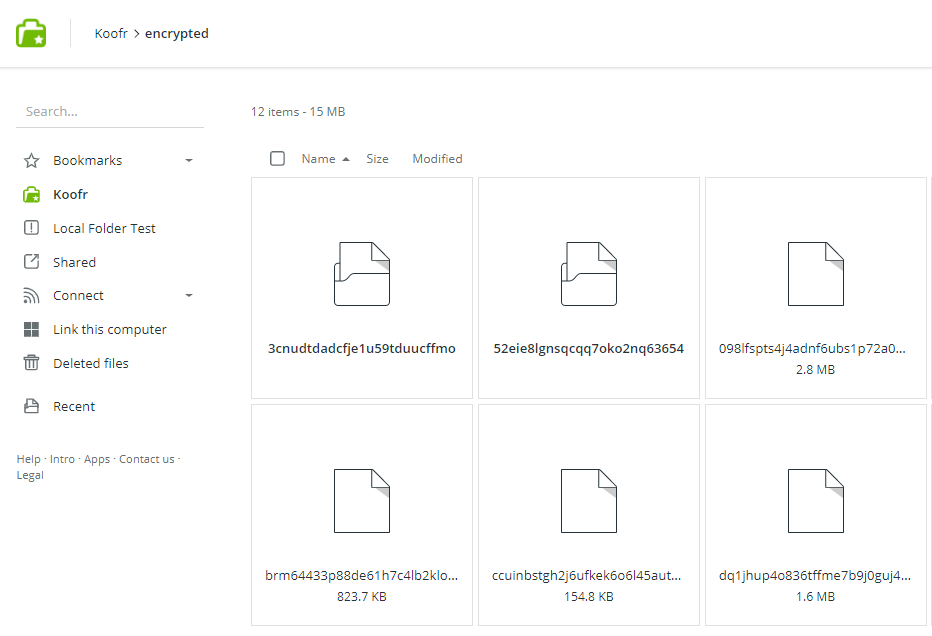
The bold encrypted files are folders, the rest are files.
Decrypting your files
If you want to copy your files back to your computer and decrypt them type this into rclone:
rclone copy koofrenc:/  Blogphotosdecrypted
rclone copy "rclone encrypted remote name:/" "decrypted folder on your computer"
and this will appear in the rclone folder on your computer:
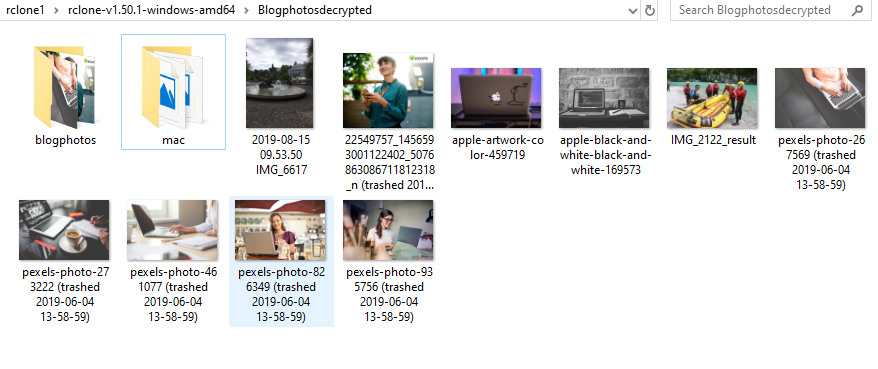
Your files, of course, stay encrypted in Koofr.
Note: You do not need to create folders yourself, rclone will do that for you if they are not there already as soon as you execute your first command connected to the folders in question.
(4) How to mount Koofr as a network drive in rclone?
Mounting Koofr as a network drive
If you are a Windows user you'll need to first download WinFsp. For all other operating systems, you can skip this step. Find rclone mount command.
Note: When you mount a network drive, it will run only while cmd is open. As soon as you quit rclone, you will not be able to see the network drive on your computer anymore. You can close rclone by pressing ctrl + c.
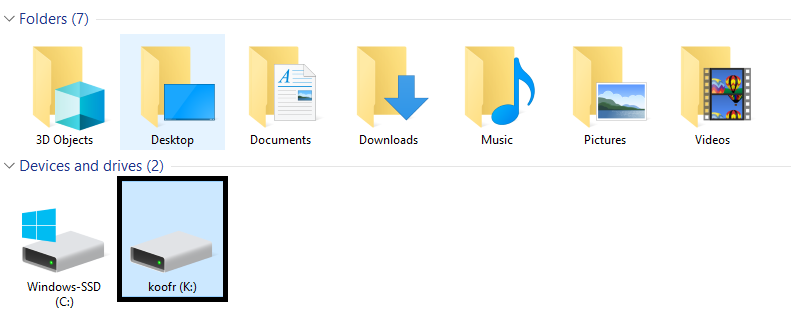
This command will mount Koofr as a network drive on your computer.
rclone mount “koofr:” K: --vfs-cache-mode full
Mounting Koofr as an encrypted network drive
This command will mount the folder Koofr:/encrypted as a network drive on your computer.
rclone mount “koofrenc:” K: --vfs-cache-mode full
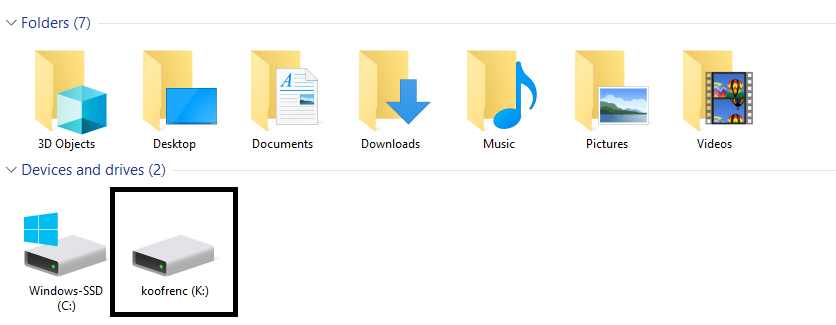
This way, you'll see unencrypted files in Windows and encrypted files in Koofr. So, whatever you copy to the network drive folder on your computer, will be encrypted in Koofr.
Happy encrypting!
Want to talk to us? Join us on the Koofr subreddit!