

How to backup your QNAP NAS to Koofr with WebDAV
Are you using QNAP's NAS and thinking of backing up your files to cloud storage? If you have all of your important files saved on your NAS and it fails, you lose everything, so be smart. Backup your files to Koofr with the help of WebDAV protocol, QNAP's WebDAV app.
Written by human for humans
NAS (network-attached storage) is a computer data storage device used for file backup, file sharing, storage, centralization and organization of your data. NAS is connected to a network and providing data access to a group of authorized network users from a central location and you can also access your data remotely.
If you check out QNAP's website you'll see that QNAP's Network Attached Storage systems consist of one or more hard drives that are constantly connected to the internet. The QNAP NAS becomes your storage unit for all of your important files. You can give access to your family so they can use it at any time and from anywhere. NAS devices are flexible and you can add additional storage when you run out of space. But as any device, NAS devices can fail for various different reasons.
So how to back them up to your Koofr account? QNAP offers two different possibilities of backing up your data to Koofr. One is through their Hybrid Backup Sync App and the other is through their WebDAV app. Today we will explain the latter. With QNAP's WebDAV app you can easily back up your data to Koofr in real-time, minimizing the impact sudden disasters might bring. You can also encrypt your data prior to upload for extra safety.
How do you set this up?
(1) First, you'll need a QNAP NAS.
(2) Create a free Koofr account.
(3) Install the QNAP's WebDAV App from the QTS App Center and Open it.

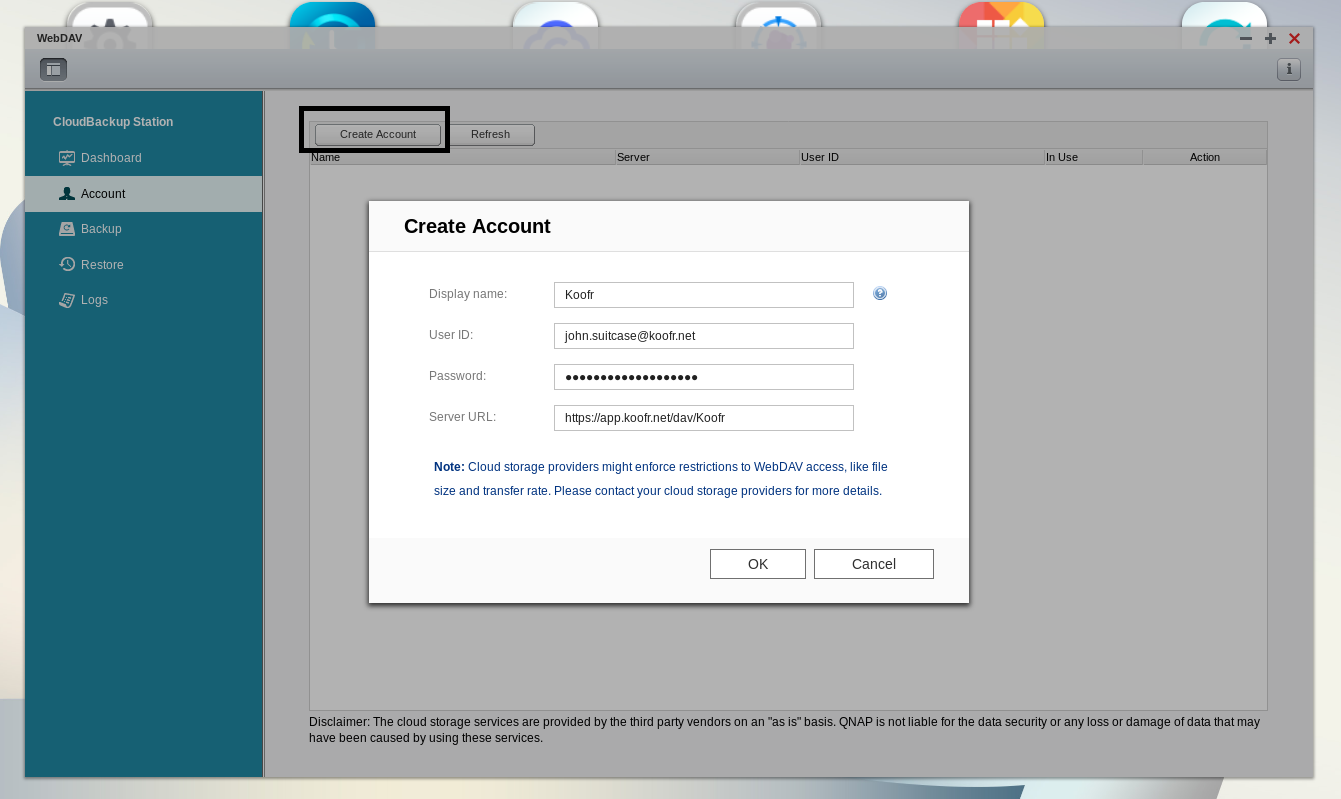
(4) Find the Account tab in the menu on the left and click on Create Account. We named our account Koofr (Display name field). Your User ID is the email you used to join Koofr.
(5) Let's move to your Koofr account for a moment. You will need to generate a new password to use with QNAP's WebDAV.
You can do that in the Account Settings Menu in Preferences under Password. Scroll down to App Passwords, click into the Generate new password field, name the new password and click Generate. We named our password QNAP as you can see in the picture below. Use this password in the Password field of the QNAP's WebDAV app.
(6) Copy the Server's URL from the picture below, input it into the Server URL field in the WebDAV app and click OK when you are done.
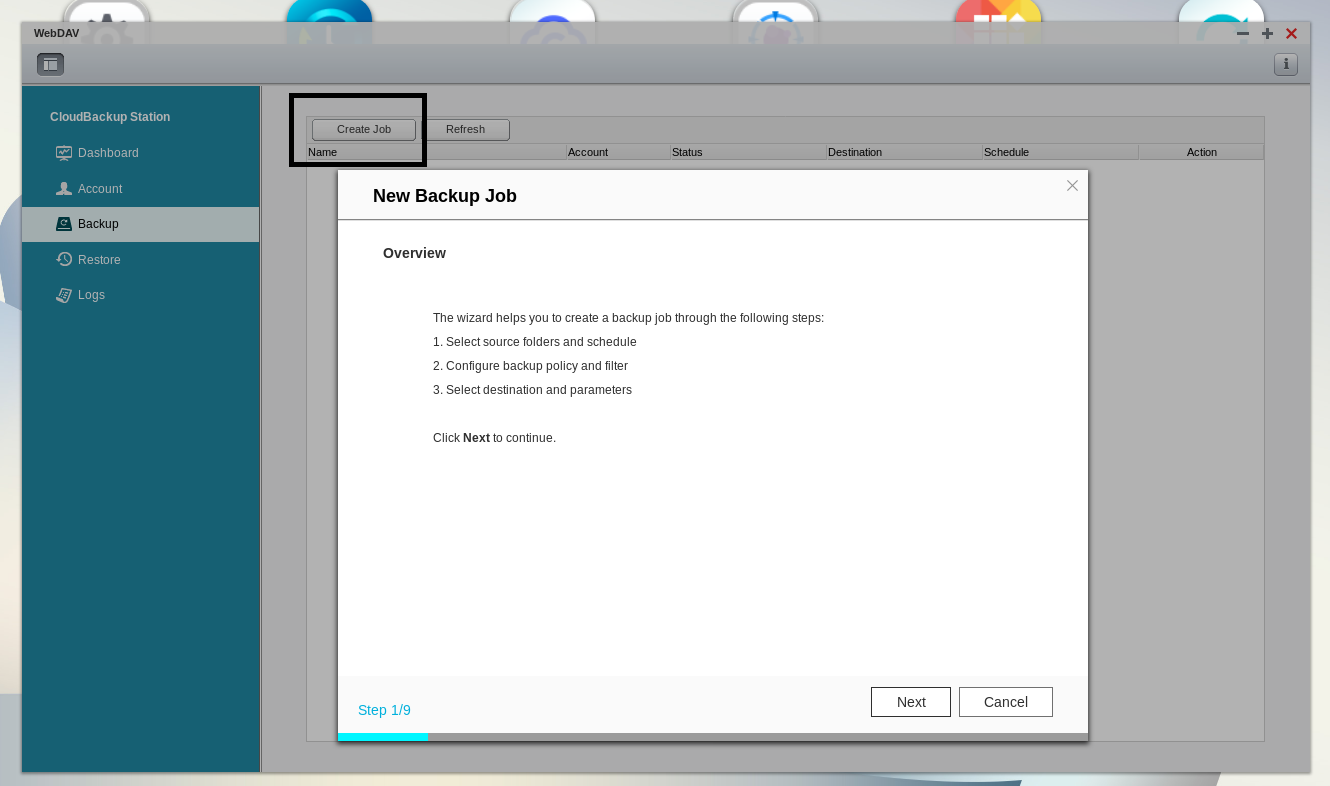
(7) Open the Backup tab and click on Create Job. When the wizard opens click Next.
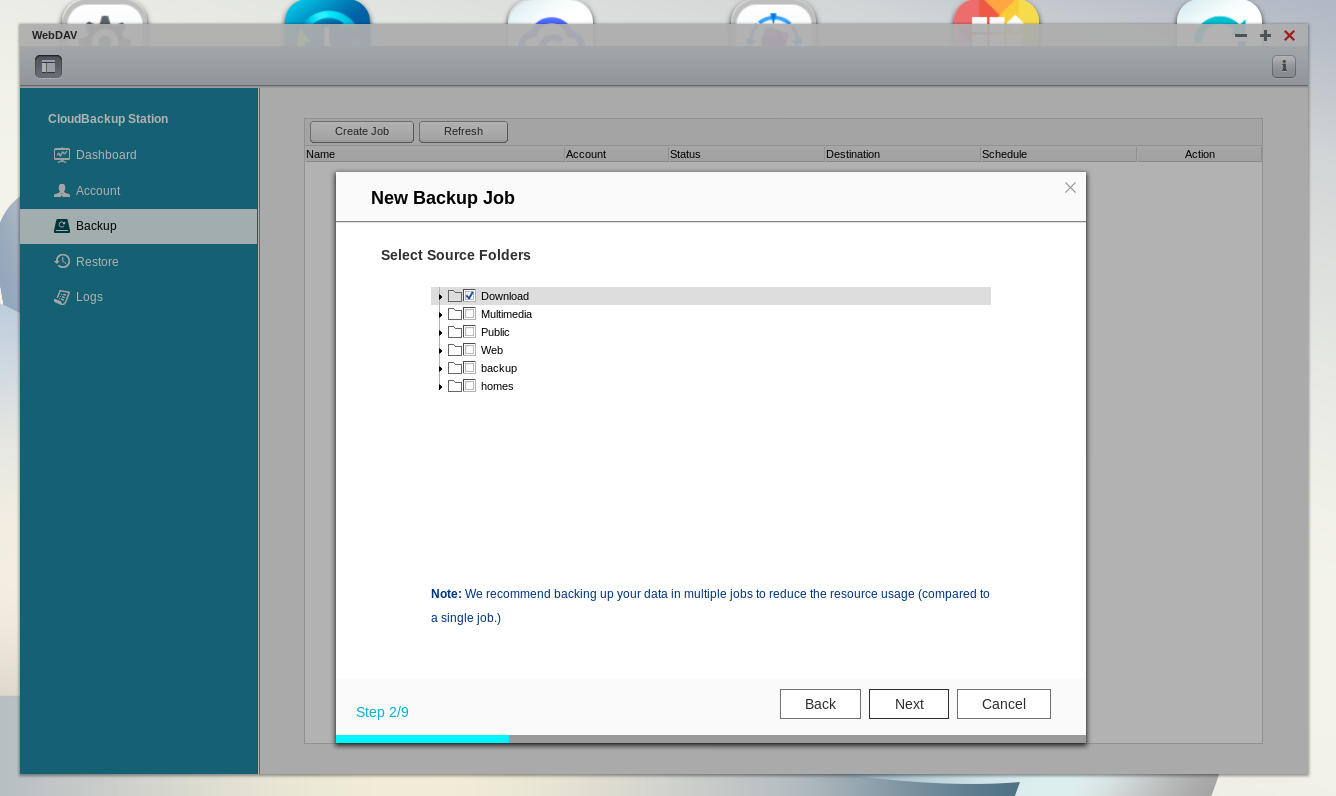
(8) Select the folders that you wish to backup to Koofr. We selected our Downloads folder. Click Next when you are done.
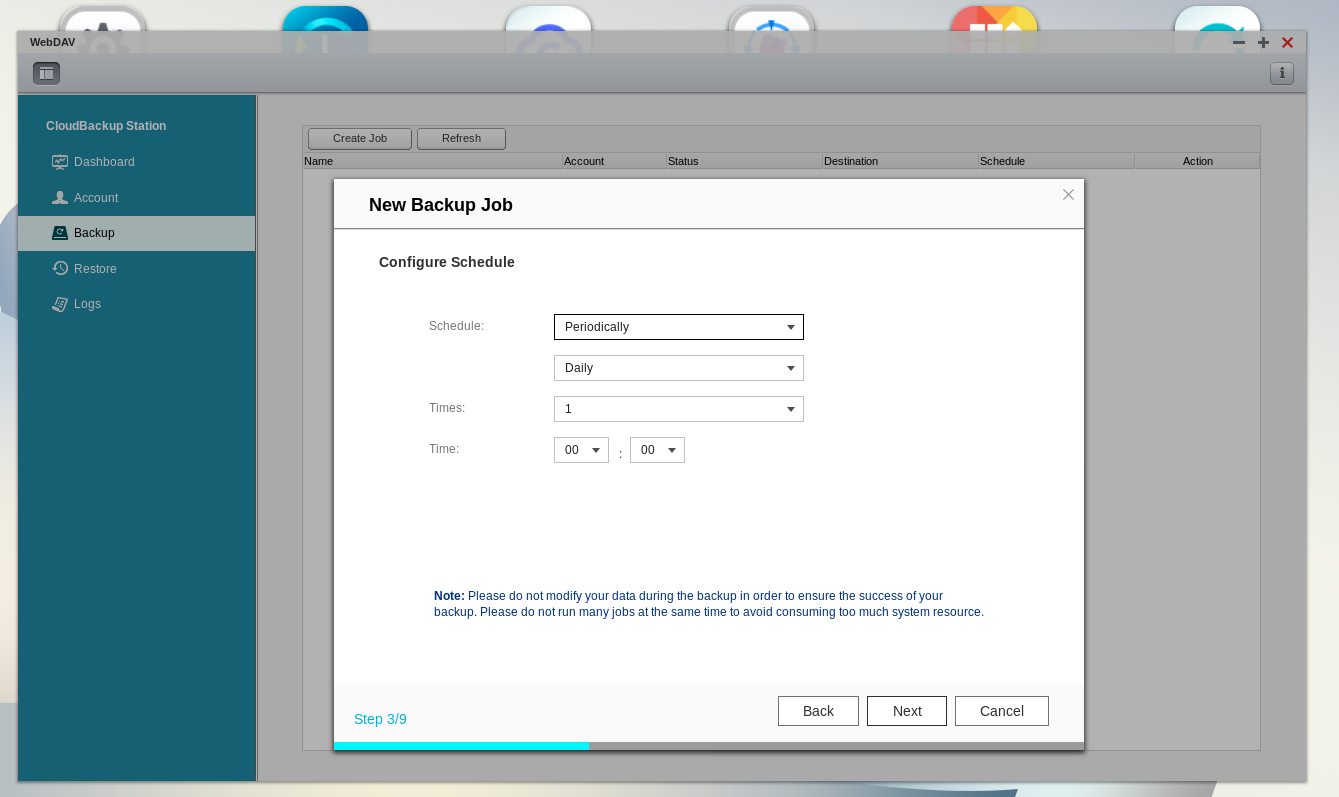
(9) In the Configure schedule windows, we left the settings as they were by default (see picture below). You can, of course, change your settings. When you are done, click Next.
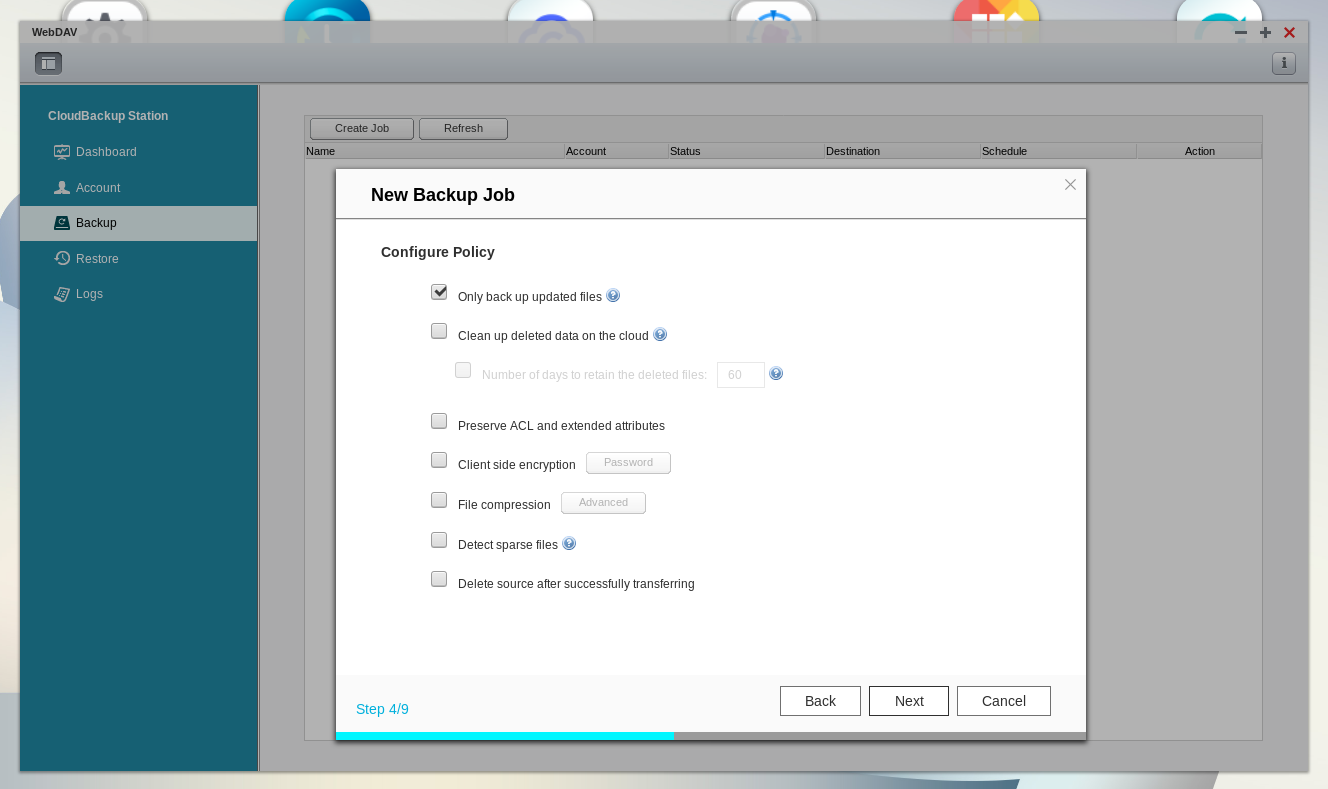
(10) In the Configure Policy window select the wanted settings for your backup. We selected to back up only the updated files. When you are done click Next.
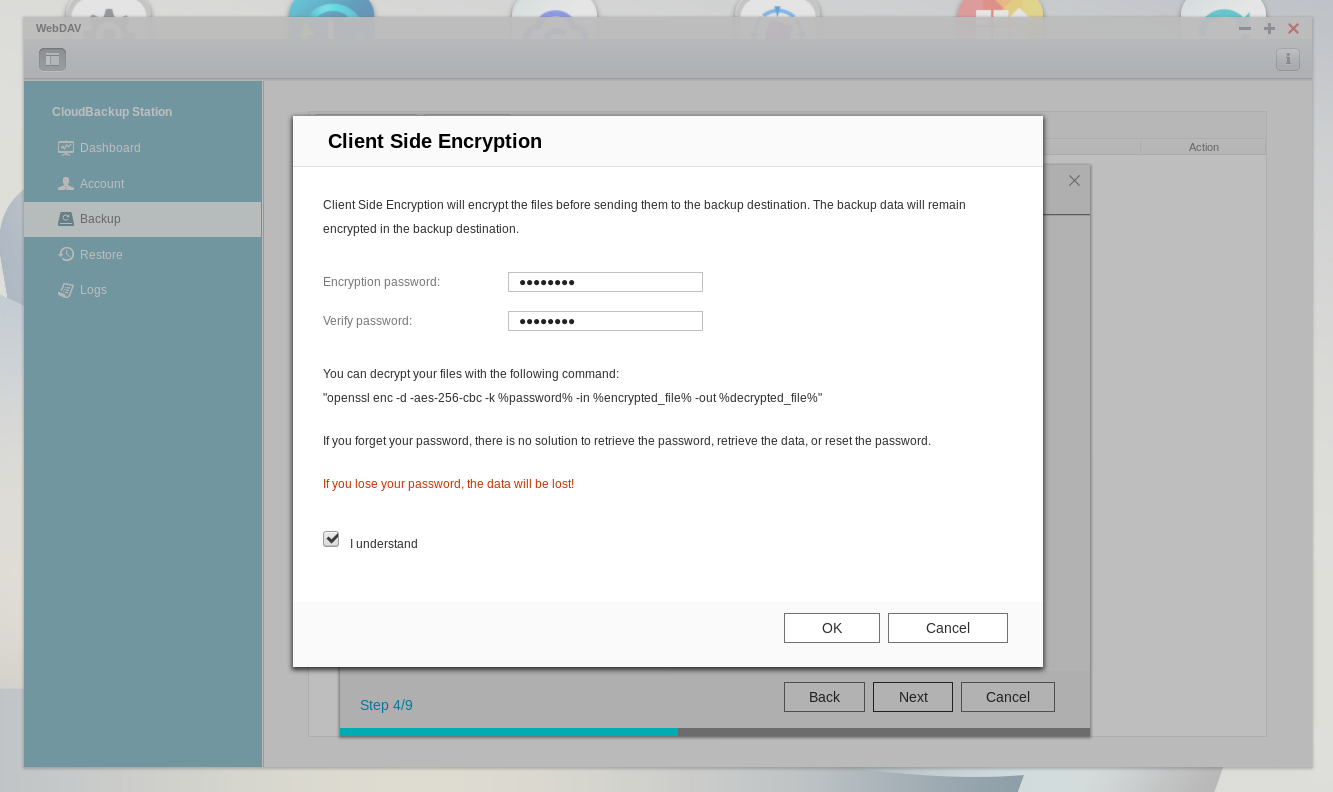
(11) If you selected Client-side encryption in the previous step, a new window will open where you'll be able to type in and verify the encryption password. Please note that there is no way to decrypt your files if you forget your password. In case that happens, your data will be lost.
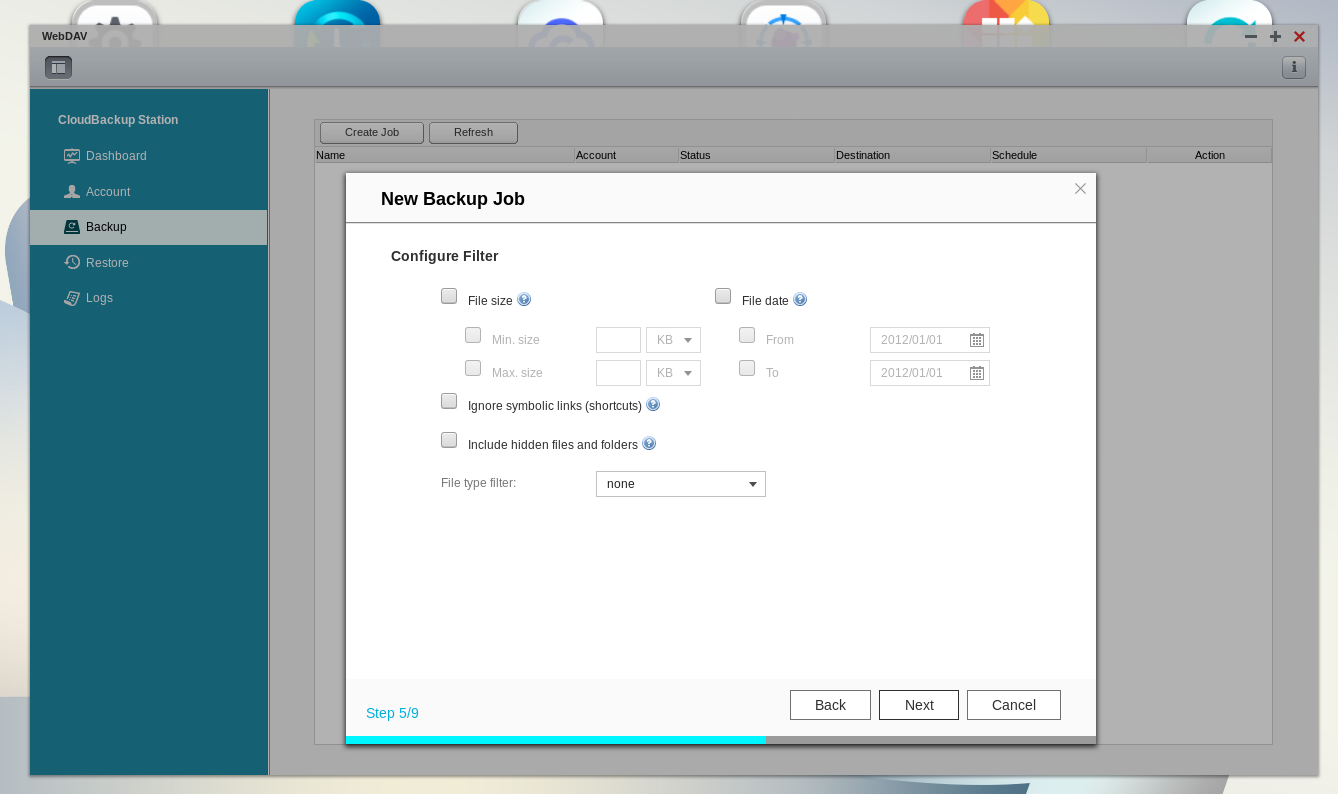
(12) In the next step, you can Configure the Filter of your backup. You can choose to ignore some files. You can filter them by file size, file type and file date. You can also set the minimal, maximal size of the files you want to backup. Click Next when you are done.
(13) Next, you need to choose the Account that you created in step (4) and input a folder name. This is the folder in Koofr in which you'll later find your backups. Type in a name and click Test to test the configuration.

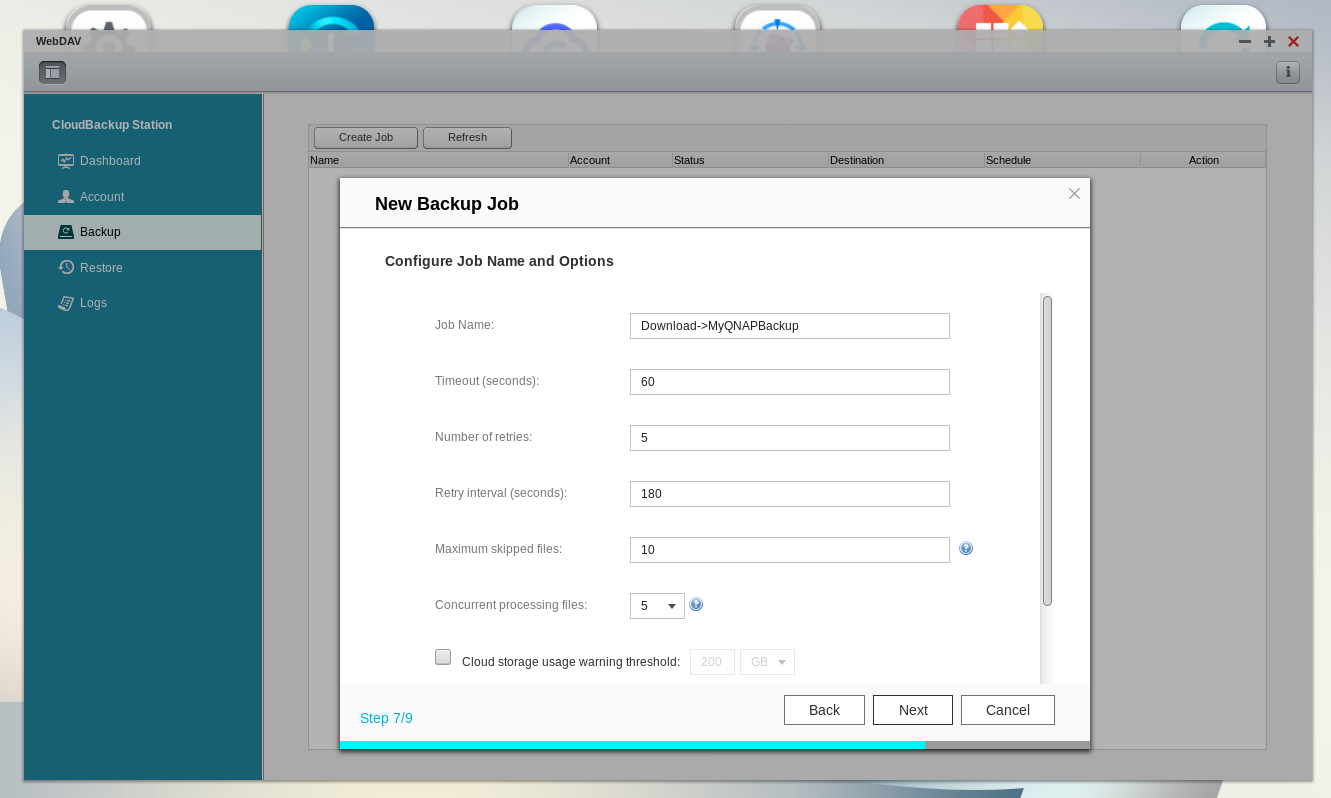
(14) In the Configure Job Name and Options tab, you can view and change the settings of your backup. When you are done click Next.
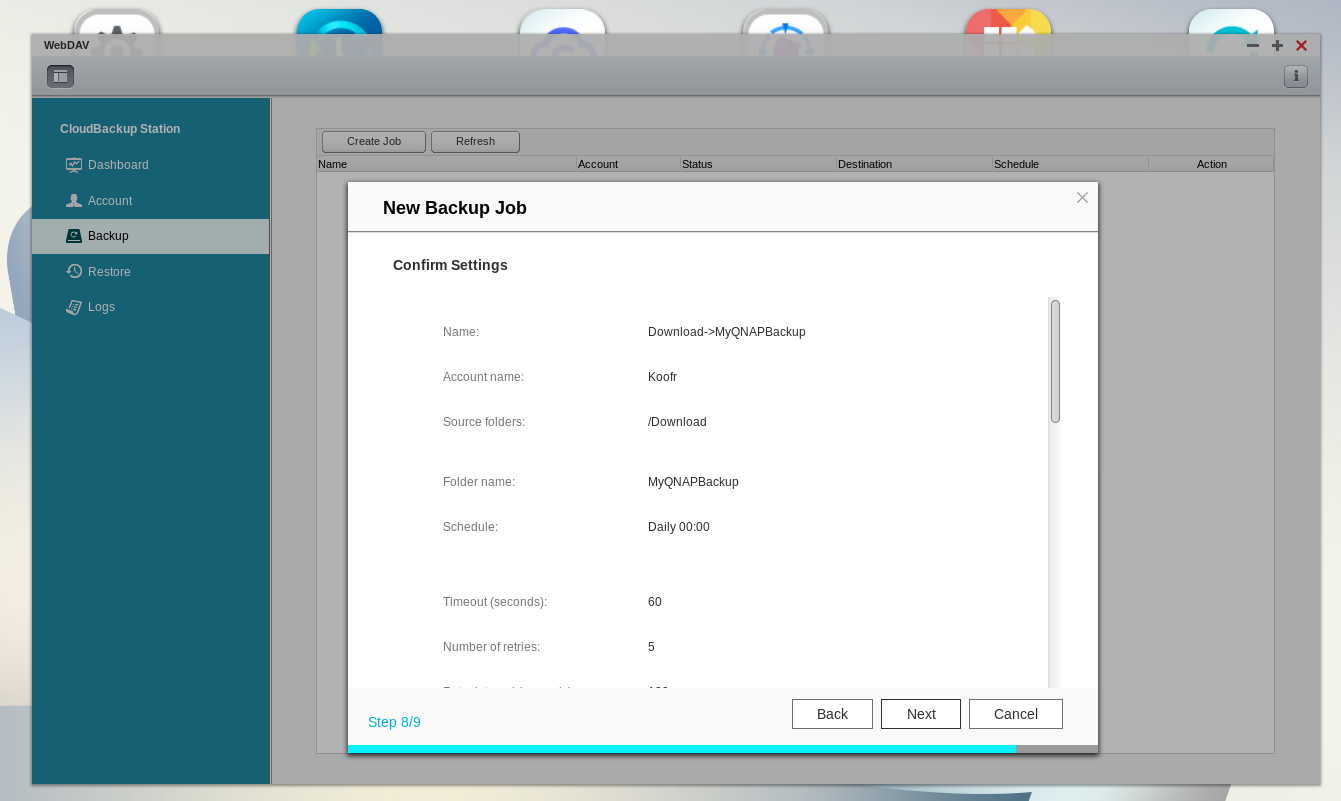
(15) In the Confirm Settings windows go through the settings again and click Next to confirm them.
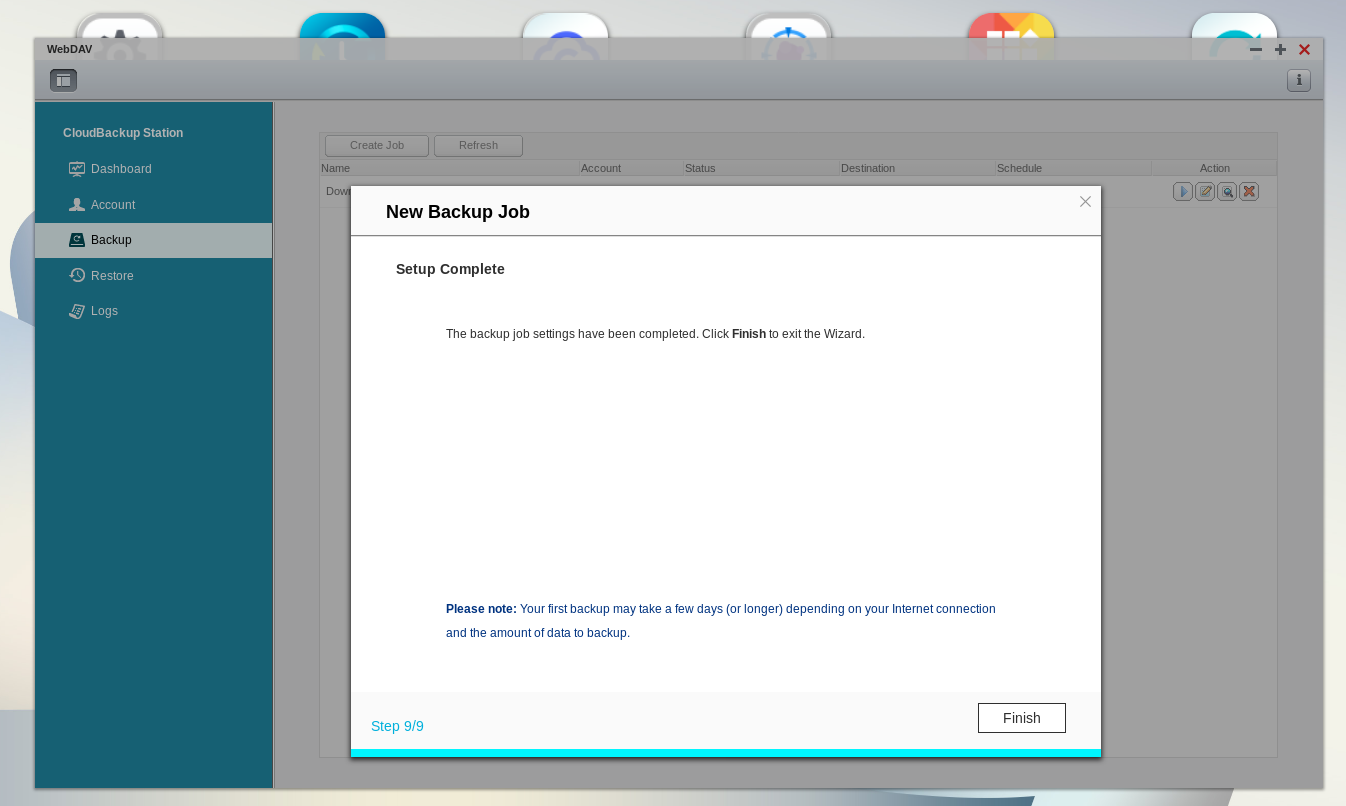
(16) Now your setup is complete and your backup to Koofr is created. Click Finish to exit the setup.
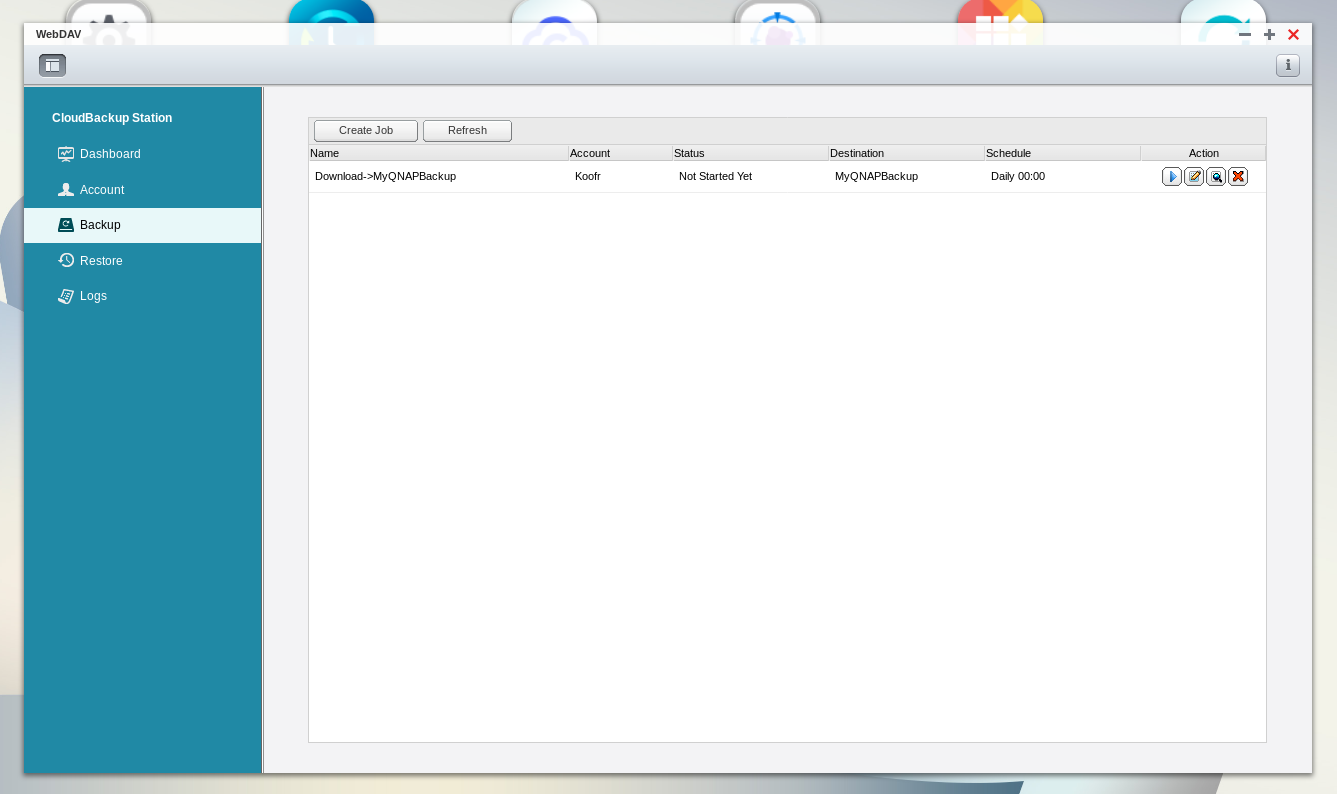
(16) You'll be able to see your backup and its status under the Backup tab in the menu on the left. You can see that the status is currently set to Not Started Yet.
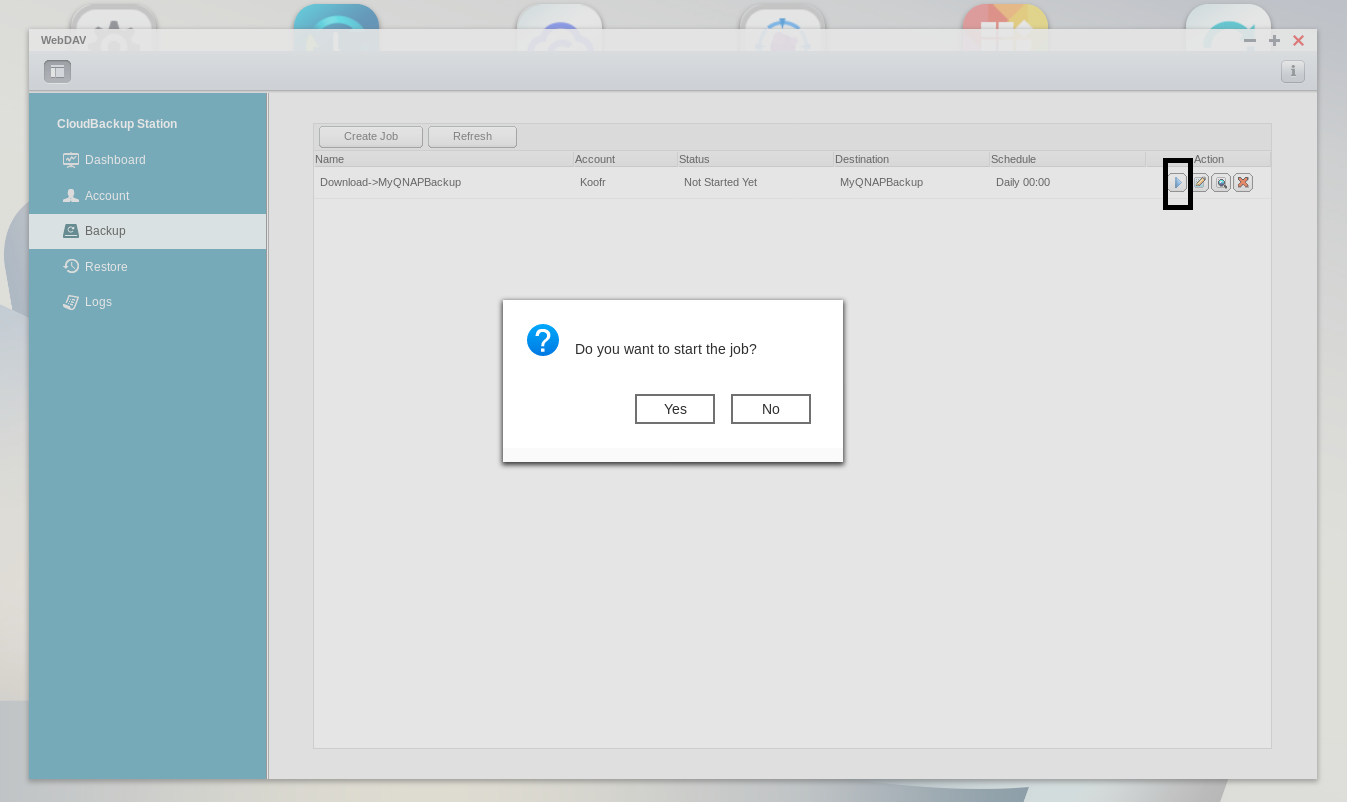
(17) Press play to start the backup manually. When a window pops-up confirm that you want to start the backup by clicking on Yes.
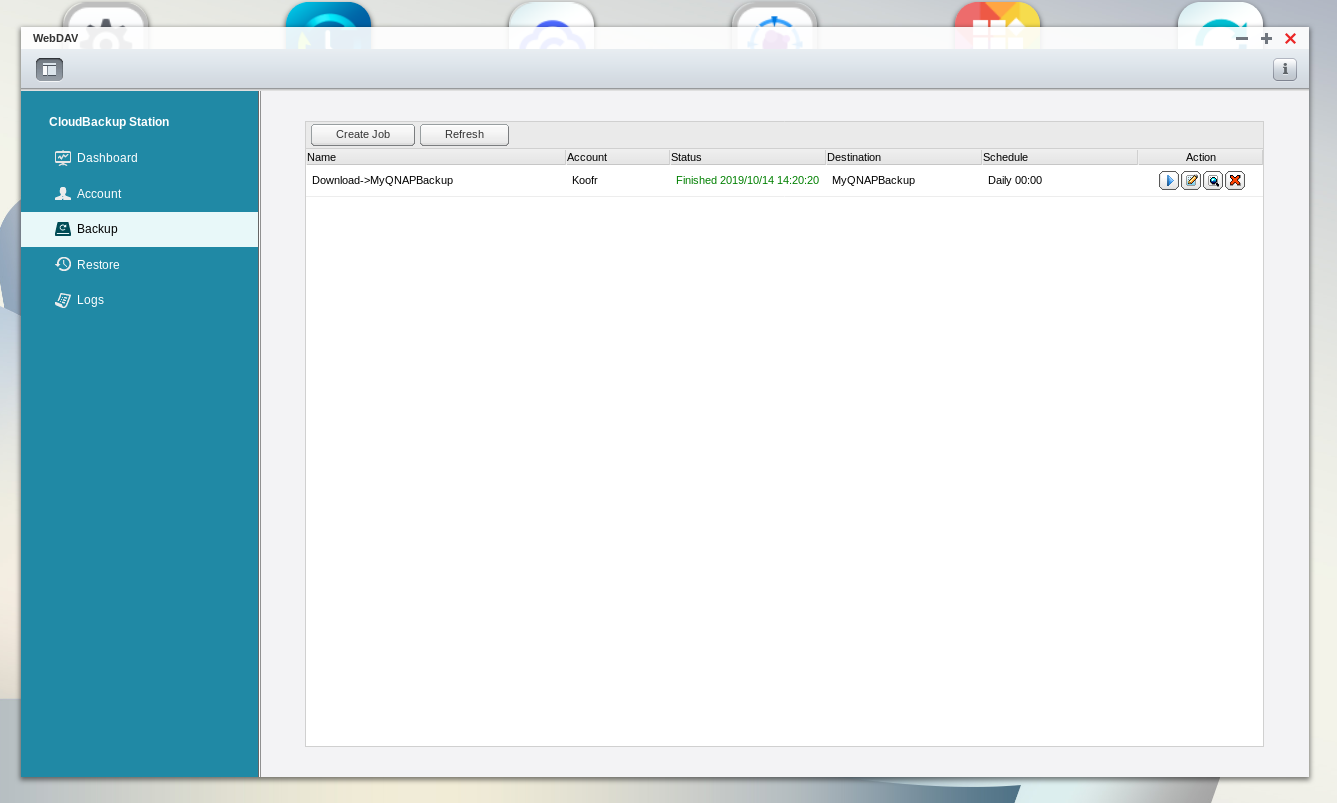
(18) When the backup is done you'll see that the status of the backup in the WebDAV app will change to Finished.
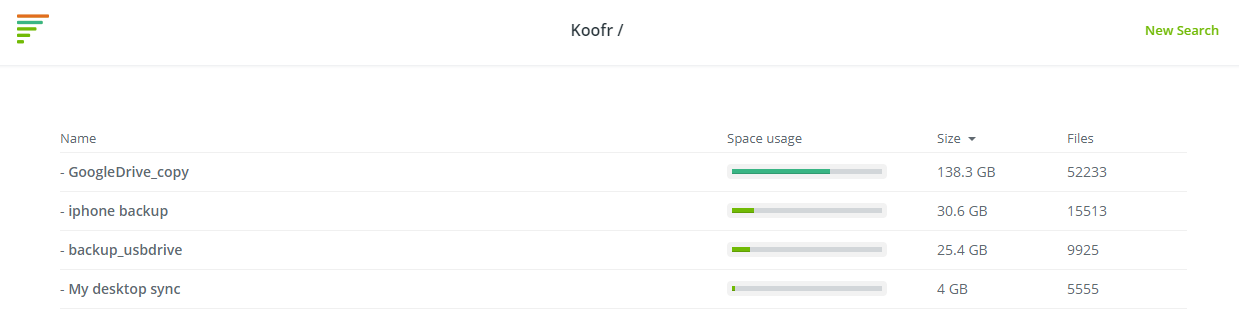
You'll now see your files in your selected folder in Koofr. Please note that the files are not backed up to the root folder. You'll find them in a folder Koofr/QNAP/CloudBackup/MyQNAPBackup.
Want to talk to us? Join us on the Koofr subreddit!