

How to Digitise and Store Old Memories in the Cloud
Learn how to digitise your old photos, videotapes and documents and safely store them in the cloud. This beginner-friendly guide explains scanning, converting VHS, archiving formats and organising your digital files securely with privacy-focused cloud storage.
Written by human for humans
Our old photos, tapes and paper documents hold precious stories—but physical media degrade over time. Colours fade, tapes stretch, pages yellow, and all of it is vulnerable to humidity, sunlight or accidental damage.
Store, organize, and access your files with Koofr
Digitising safeguards these memories while making them easier to organise, search, and share. Converting “unsuitable” formats such as printed photos, VHS tapes, or ageing documents is the first and most important step towards long-term preservation.
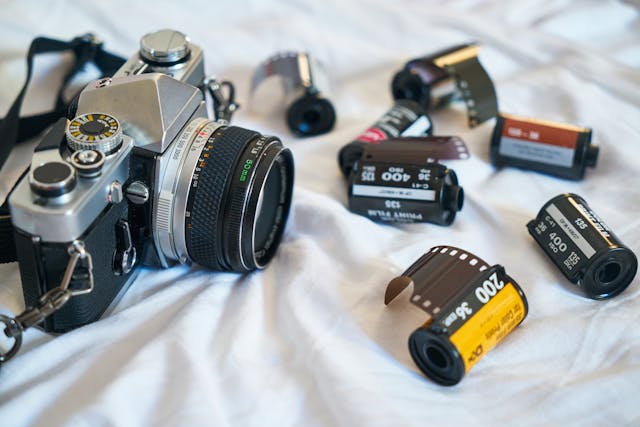
1. Digitising Old Analogue Photographs
Analogue photos are the most common items people wish to preserve, and digitising them is easier than you might think.
Scanning for the Best Quality
A flatbed scanner or a dedicated film/slide scanner will always provide the highest fidelity.
Steps:
- Gently remove dust from the photos before scanning them.
- Scan at 300 DPI for standard images or 600+ DPI for archiving and small prints.
- Save files as JPEG for smaller file sizes or TIFF for lossless archiving.
Digitising Film Negatives and Slides: If you have the original negatives or slides, use them—they hold far more detail, colour and dynamic range than printed photos.
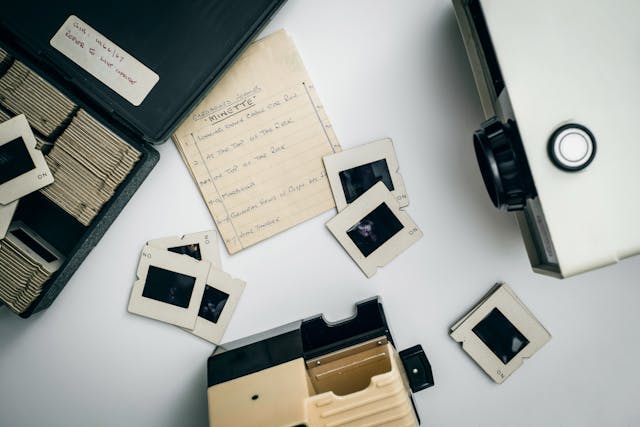
Why scan negatives instead of the prints?
- Superior quality: The negative is the source, containing the most detail, colour, and dynamic range—untouched by paper degradation or fading.
- Easier colour correction and better dust/scratch removal: Scanning film allows for easier colour correction and automated removal of dust and scratches than scanning an already-developed paper image
How to scan film negatives and slides:
- Use a specialised film scanner or a high-end flatbed scanner with a Transparency Media Adapter (TMA).
- Scan at 2400 DPI resolution or higher: Negatives are small, so you must scan them at a much higher resolution than paper photos to capture the same data. A recommended starting resolution is at least 2400 DPI or higher, depending on the film size and desired outcome.
- Save files in RAW or TIFF (16-bit if available) to preserve maximum colour depth. Use the scanner software to invert the colours and convert the negative to a positive.
Note: Because of the equipment and expertise required, many people choose to send film to a professional digitisation lab, which often yields the best results.
2. Digitising Videos from Videocassettes (VHS, Video8, MiniDV)
Digitising videotapes is a bit more challenging because playback devices are rare and tapes deteriorate quickly, so this often requires external help.
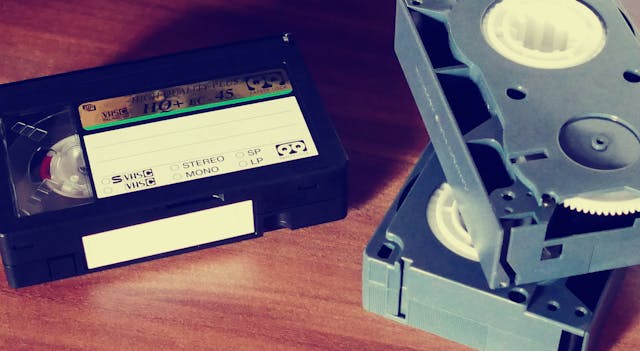
Professional Conversion Services
Best for large collections or irreplaceable footage, and in cases when you lack the necessary equipment. These services convert VHS, VHS-C, Video8 and MiniDV into digital formats such as MP4 or AVI, usually delivered on a USB drive or DVD.
DIY Conversion (for the technically confident)
To digitise tapes yourself, you’ll need:
- A functioning player or camera (e.g., VHS player)
- A video-capture card (e.g., Elgato Video Capture or similar)
- A computer with compatible software
Connect the original player/camera to the computer via the capture card. Play the footage in real time and capture it directly, then save it in a digital format (e.g., MP4).
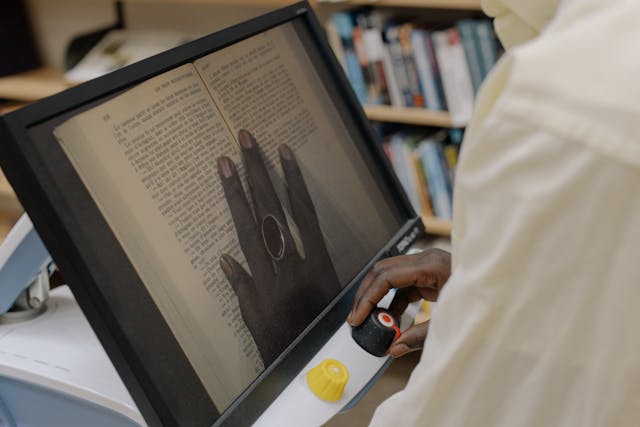
3. Digitising Physical Documents and Receipts
When digitising documents, readability and searchability are the most important.
Tips:
- Scan documents at a high enough resolution for crisp text.
- Save them as PDF, the universal standard.
- Use OCR (Optical Character Recognition) to create searchable PDFs—ideal for finding information quickly later.
4. Cloud Storage and Organisation
Once digitised, your files need a safe, private, long-term home. It's time to upload them to a trustworthy, safe and private cloud storage.
Koofr is a privacy-focused, secure cloud storage provider that has been in the market for more than 12 years already. It’s ideal for users who want full control over their data.
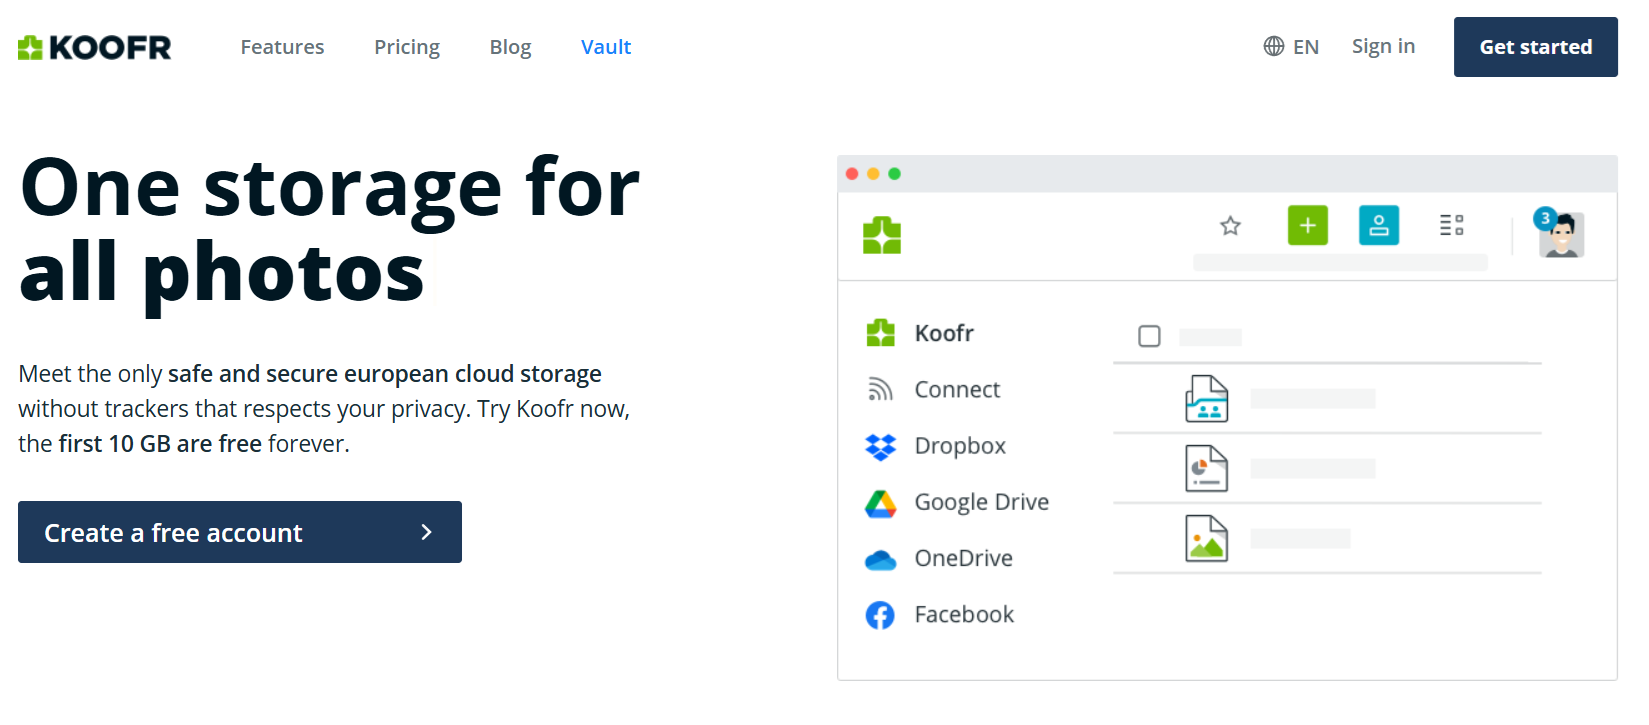
Its key features are strong privacy protection, easy file sharing and viewing, labelling for easier search and organisation, Koofr Vault for zero-knowledge encrypted storage and a 30-day file retention for the accidentally deleted files.
Koofr Cloud Storage: Organisation Tips
When uploading your files to Koofr cloud storage, a structured approach makes your life easier:
- Use a logical structure and names for your Folders:
/Photos/1995/Adriatic_Vacation or /Documents/Financial/2024_Taxes - Use Descriptive filenames:
Maja_Birthday_1998.jpg instead of IMG_1234.jpg - Use our colour Labels: categorise your files and search for them faster by label.
Digitising your memories is a marathon, not a sprint—start small. Whether it’s a handful of photos or one VHS tape, each digitised item is a step towards preserving your family history. The long-term value far outweighs the effort.
You don't have Koofr yet? Try it for free.
Want to talk to us? Join our growing Reddit community!