

Koofr with Zotero via WebDAV
Are you using Zotero with Box and don’t know what to do when Box support for WebDAV eventually runs out? Are you searching for Zotero with Box alternative? Don’t fret, Koofr is here for you. Read about how you can use Koofr with Zotero via WebDAV, how to set up syncing between Zotero and Koofr and more.
Written by human for humans
[Updated, May 2020: Video instructions added]
[Updated, April 2025: New screenshots added]
While you used to be able to sync Zotero to Box via Box Drive and Box WebApp with WebDAV, last year Box announced their intent to stop their WebDAV support. While they are indeed extending their initial deadline, to give users time to migrate off it, sooner or later the support will stop. We at Koofr, on the other hand, recently updated our service so it works with Zotero via WebDAV. You can already read more about it in the Zotero forum.
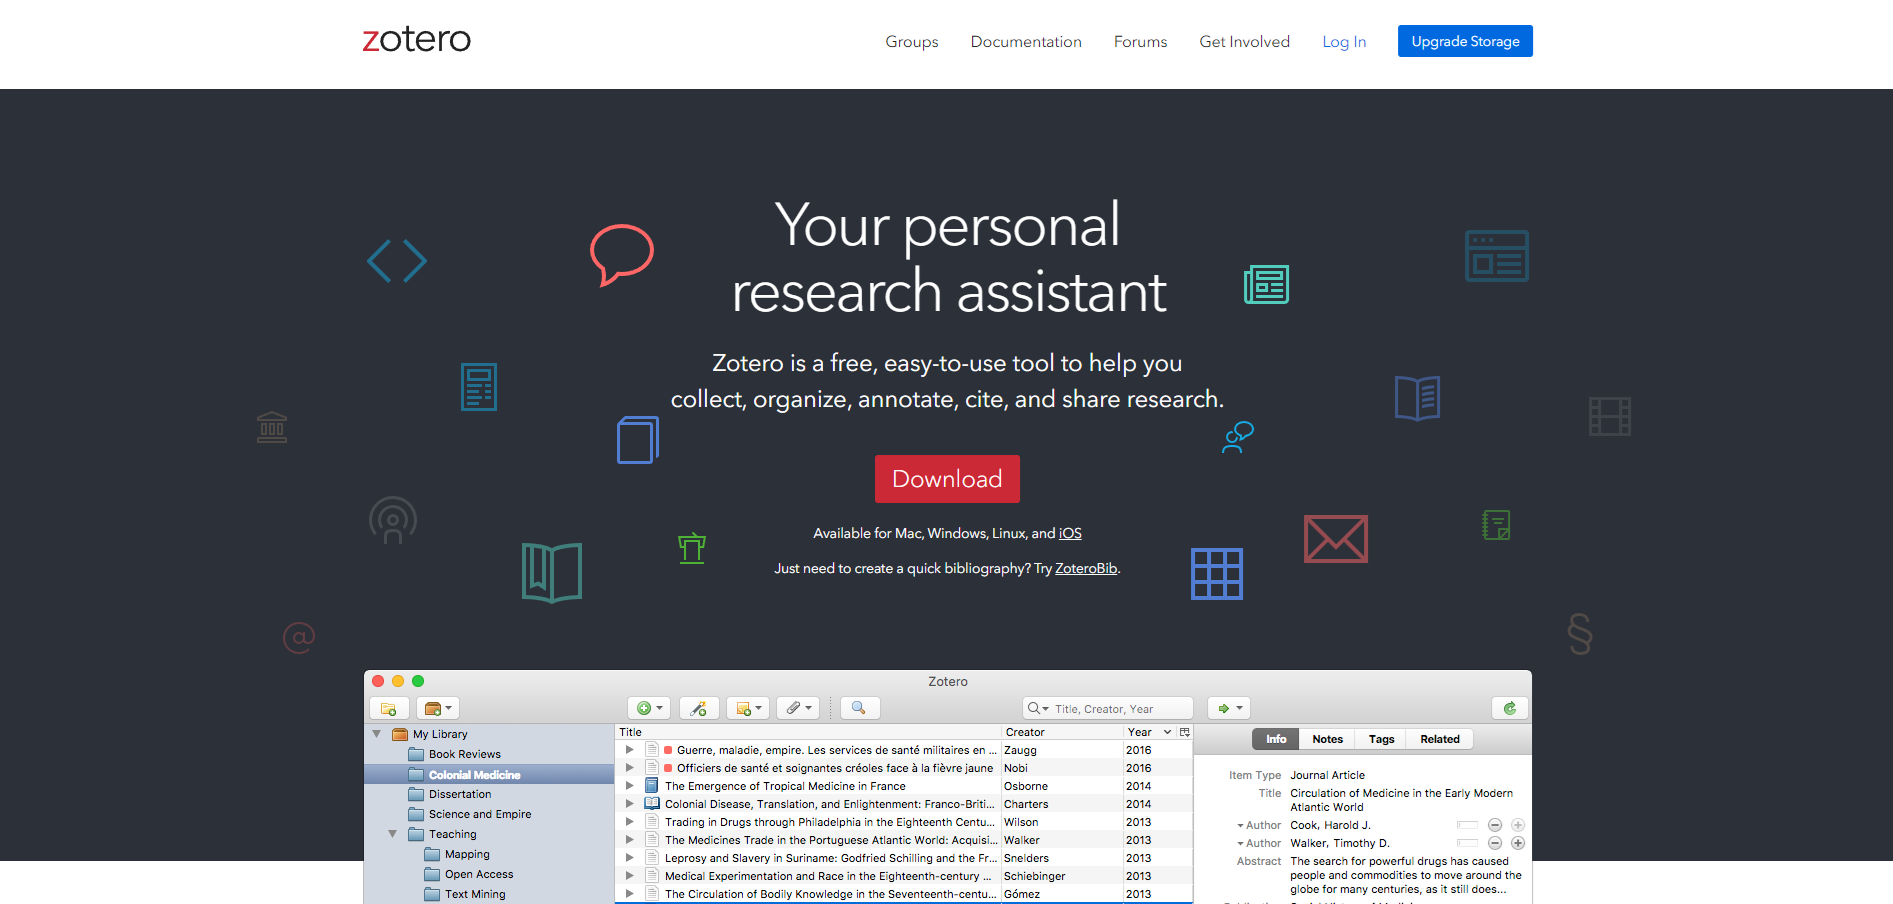
If you browse the web, you will quickly find out that Zotero is a powerful open-source reference management tool that helps you collect, store, manage, cite, and share bibliographic references, such as books and articles. If you have ever written an academic article, a dissertation, a thesis or something else entirely that required citations and a list of references, you've probably come across it already. Its features include web browser integration (Zotero Connector extension), which simplifies adding online sources to your Zotero account, online syncing, generation of in-text citations, footnotes as well as integration with Microsoft Word, LibreOffice Writer and Google Docs. You can read more about it on Zotero’s official website.
You can use Zotero with WebDAV, which is a standard protocol for transferring files over the web, and it can be used to sync files in your personal library. You can use Zotero for data syncing and file syncing. Data syncing merges everything except attachment files between your local computer and the Zotero servers, allowing you to work with your data from any computer with Zotero installed. File syncing on the other hand syncs also the attached files (ex. PDFs) which you can sync to Koofr with WebDAV. Read more about Zotero syncing.
So, what will you need to set this up? Check out our video tutorial How to connect Zotero with Koofr via WebDAV or read on.
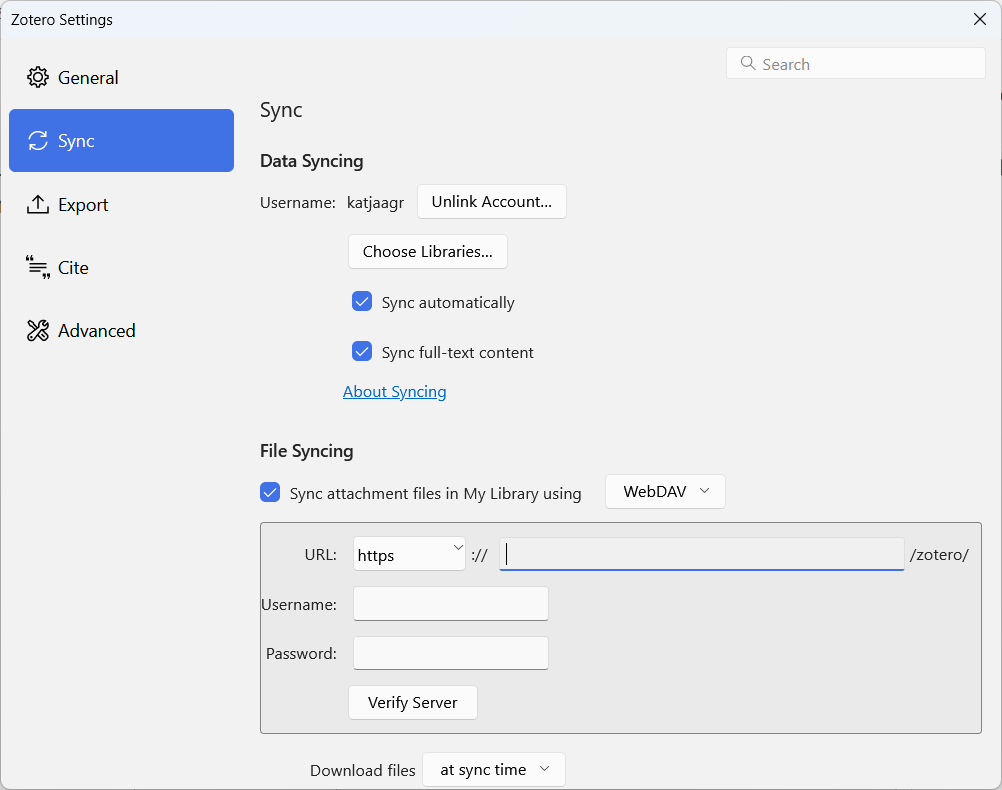
If you are thinking of using Zotero with WebDAV, you will need to create a free Zotero account (assuming you don't have one already), download the Zotero desktop client and set it up on your computer. To set up syncing to Koofr, open the Zotero desktop client, click on Edit, select Settings and then Sync. Tick the Sync attachment files in my Library and select WebDAV from the drop-down menu.
Now, let's move to Koofr for a moment and see what you need to do there to be able to sync with Zotero with WebDAV. First, you will need a free Koofr account.
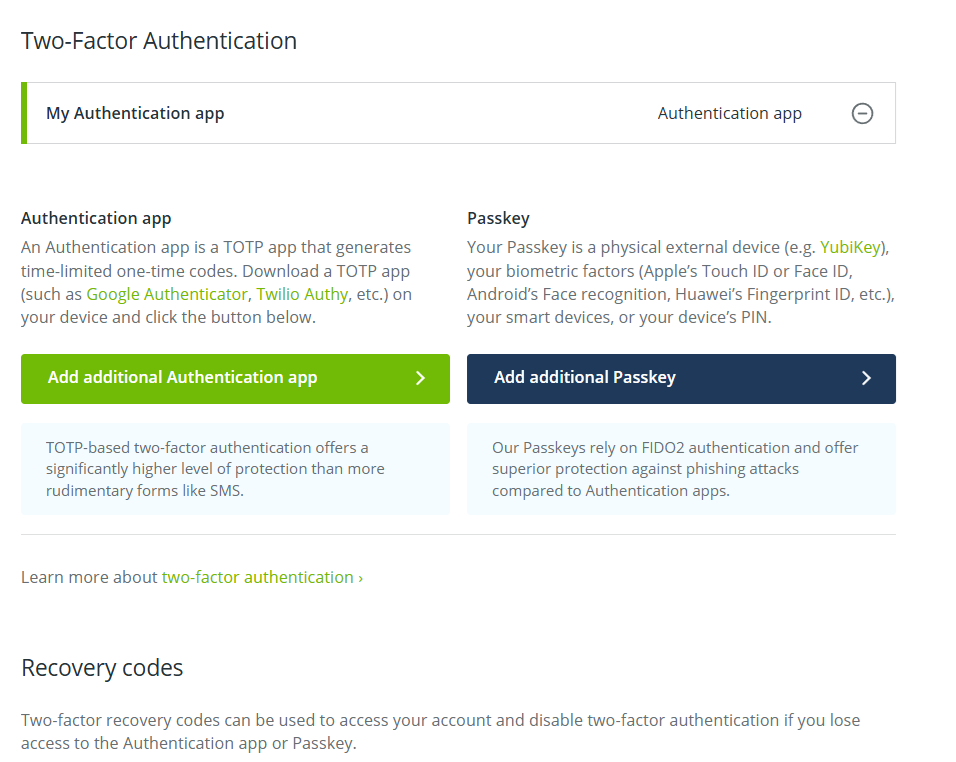
We strongly suggest you enable the 2-Factor Authentication in your Preferences under 2-Factor Authentication in the Account Settings Menu of your Koofr account. Read more about What is 2FA and why you should enable it.
You will also need to generate a new password to use with WebDAV. See our video tutorial How to generate application-specific passwords for WebDAV connections in Koofr.
Open the Account Settings Menu in Preferences under Password . You can generate and name a new password to use only with Zotero. I named my password WebDAV_Zotero as you can see in the picture below.
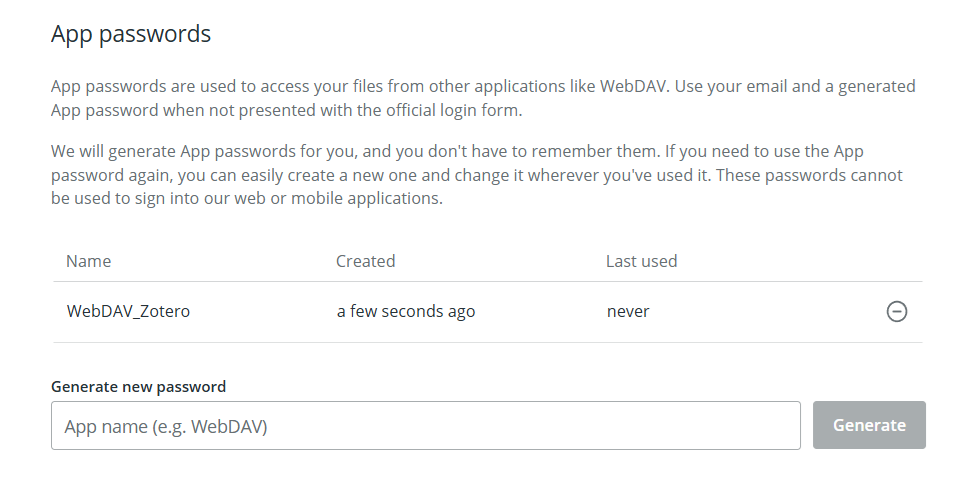
Be sure to remember the password (or use it immediately), as you cannot view it later. If you forget it you can always generate a new one, but you'll need to replace it in Zotero Preferences (and anywhere else you might have used it).
So, let’s get back to Zotero Preferences now and set up our File Syncing. You need to type app.koofr.net/dav/Koofr into the URL text box. Username is the Email address with which you set up your Koofr account and Password is the password you generated in Koofr to use with Zotero (WebDAV_Zotero in the previous picture).
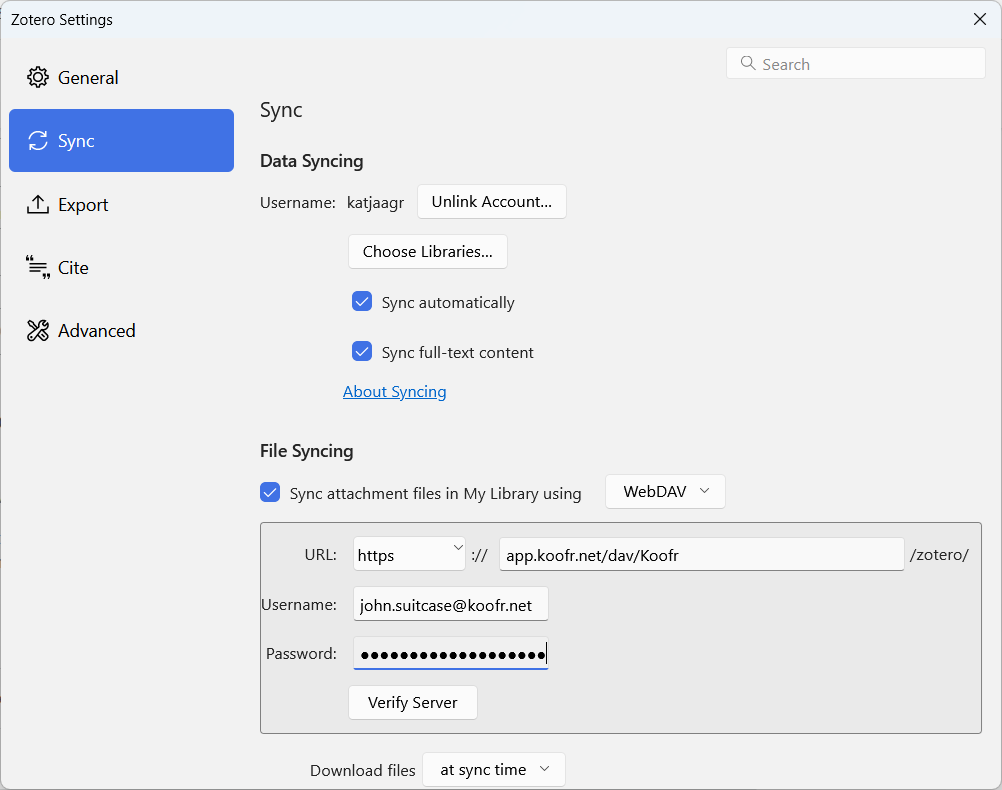
So all there is left to do is click on Verify Server. A window will pop-up, asking you to create a new directory. Click on Create. You will get a notification to let you know that file sync is successfully set up and a folder named zotero will be created in Koofr when that happens. Every title you add to your Zotero Library and has an attachment will be synchronised to Koofr and you will find it in zotero folder in Koofr as a .zip file. Happy syncing!
Note: If you have previously used another WebDAV service and you want to switch to Koofr, you'll have to Reset File Sync History in your Zotero Preferences in Sync tab. This way you'll be able to sync all of your Zotero attachments to Koofr without uploading your files again. Reupload does not happen automatically.
Want to talk to us? Join us on the Koofr subreddit!
Changes to the blog:
- Updated, November 2019: Additional information on Reset File Sync History added