

Synchronize Your Bookmarks to Koofr with Floccus
Sync your bookmarks across browsers in full privacy with the Floccus bookmarks sync extension/addon. Using WebDAV, you can also sync them to Koofr. Here's how.
Written by human for humans
[Updated] dec. 2020: We removed the option to sync your bookmarks to the root Koofr folder, due to issues that appeared during testing this option.
[Updated] oct 2023: New screenshots added.
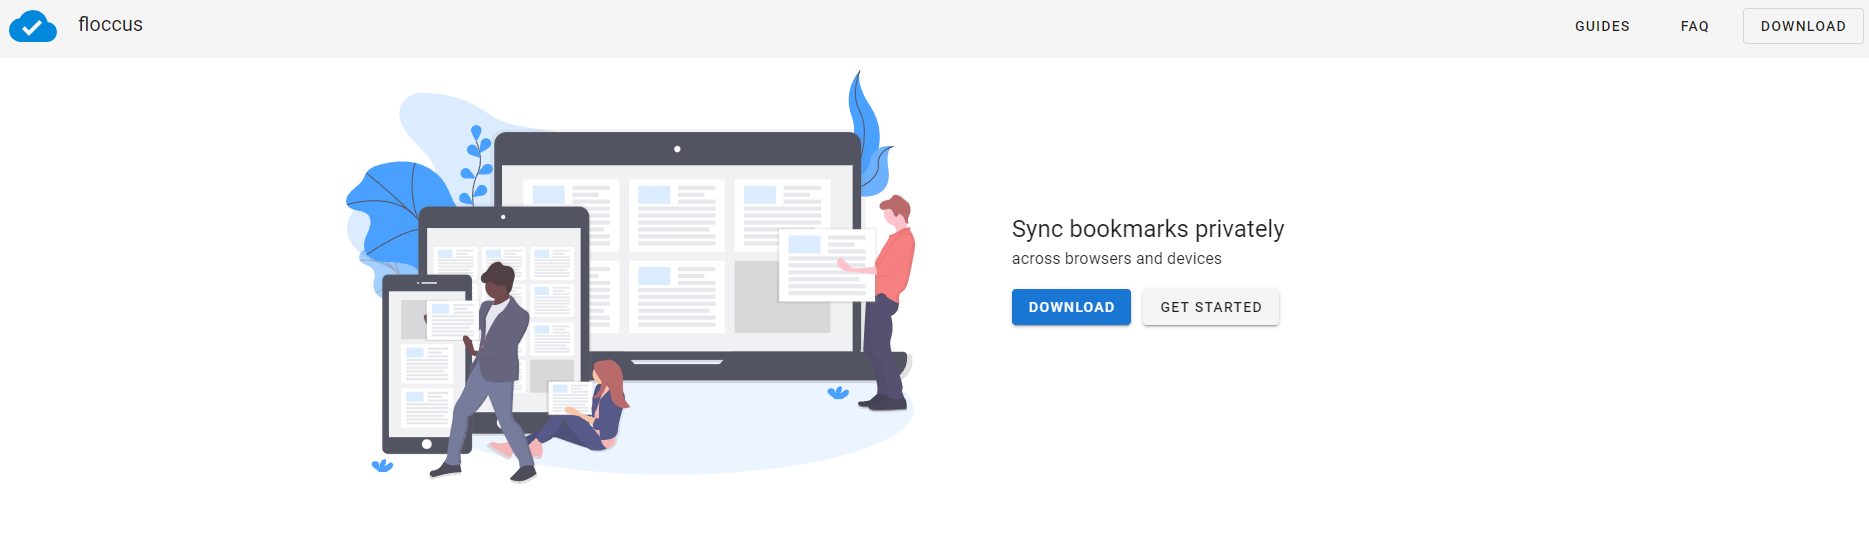
Floccus is a bookmark browser extension, available in Mozilla Firefox, Google Chrome, Microsoft Edge and other Chromium-based browsers, which lets you synchronize your bookmarks across browsers and devices with full privacy and control. It also lets you synchronize them to Koofr with the help of the WebDAV protocol. Read on and find out how to connect Floccus and Koofr.
How to connect Floccus and Koofr?
(1) Open the Floccus webpage, click on the Download button and select the wanted extension/add-on you want to install into your browser.
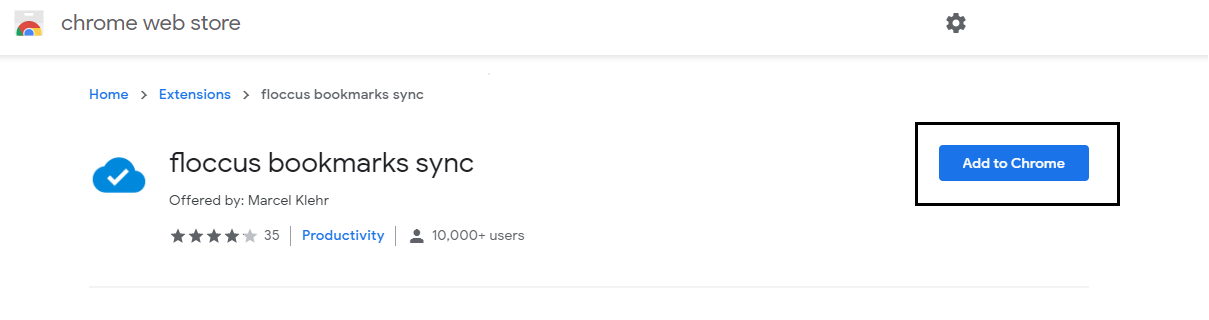
Note: We selected the extension for Google Chrome. All of the screenshots made in this process were done in Google Chrome, though the extension may work similarly with other Chromium-based browsers as well.
(2) The chrome web store will open. Click on Add to Chrome button next to the extension to add it to your browser.
Note: A pop-up will appear and you'll need to confirm this decision by clicking on Add extension.
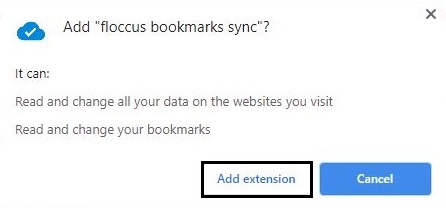
You'll get a notification informing you that floccus bookmarks sync has been added to Chrome.
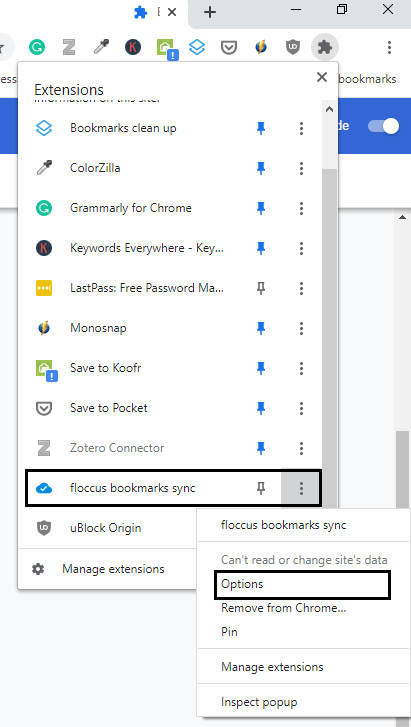
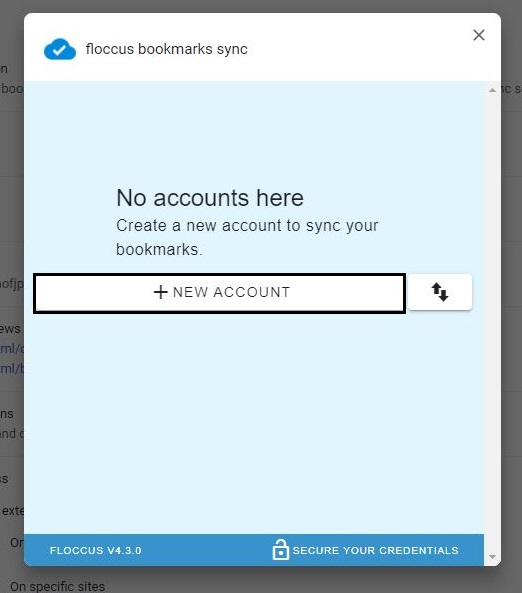
(3) Open the extension settings in your browser and find Floccus. Click on Options.
(4) A pop-up will appear. You'll be able to add a new account there. To do that click on the + New account button.
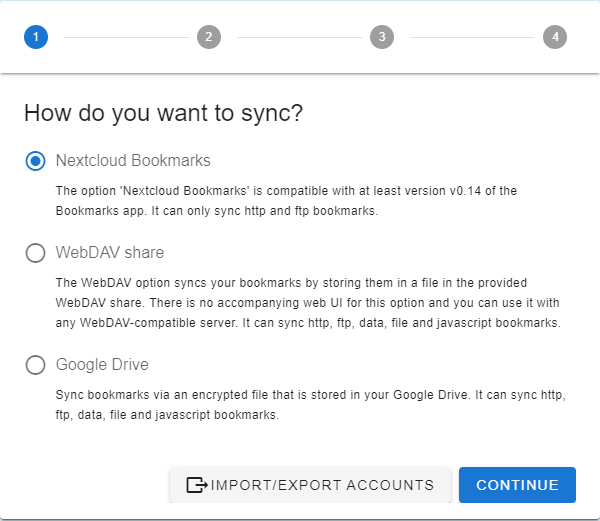
(5) When asked, "How do you want to sync?", select WebDAV share and click on Continue.
(6) Input the Koofr WebDAV settings, as they are on the picture below.
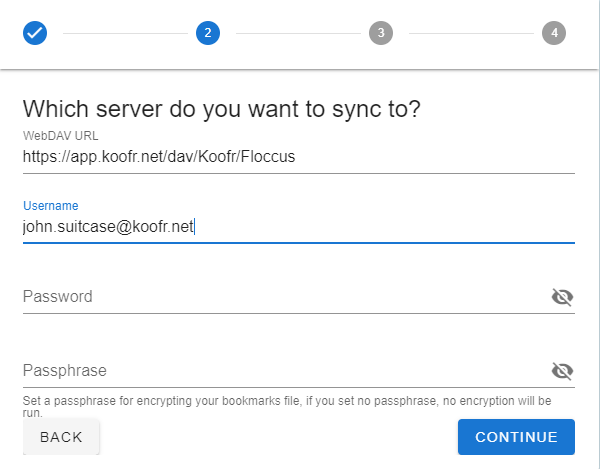
Note: We added an additional Floccus folder into the WebDAV URL. This folder needs to be created in your Koofr account before you can start syncing your bookmarks to Koofr.
Read more about how to connect a WebDAV service to Koofr .
(7) At this point move to your Koofr account and create a new Floccus folder.
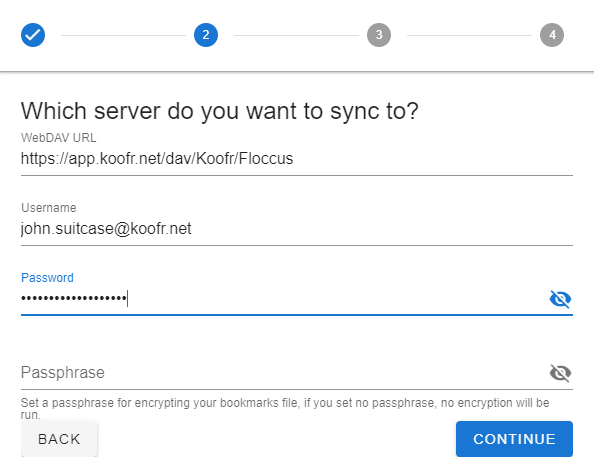
(8) While you are in your Koofr account, create a new application-specific password to use in the Floccus WebDAV settings.
Read more on how to create an application-specific password or watch our video How to generate application-specific passwords for WebDAV connections.
(9) Copy the newly-generated password from Koofr and paste it into the Floccus settings in your browser.
Click on Continue.
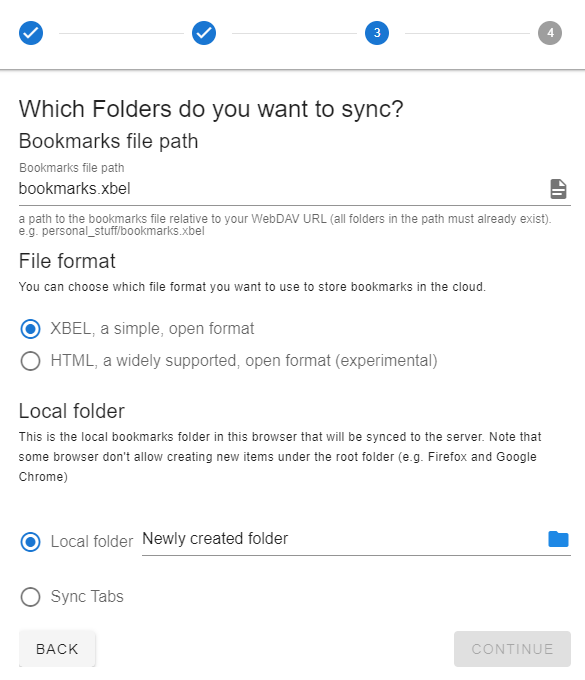
(10) In the next step, choose which file format you want to use to store bookmarks in the cloud (XBEL, a simple, open format) and which folder you want to sync to Koofr or you can choose to sync tabs. We chose the Sync Tabs option. Click on Continue.
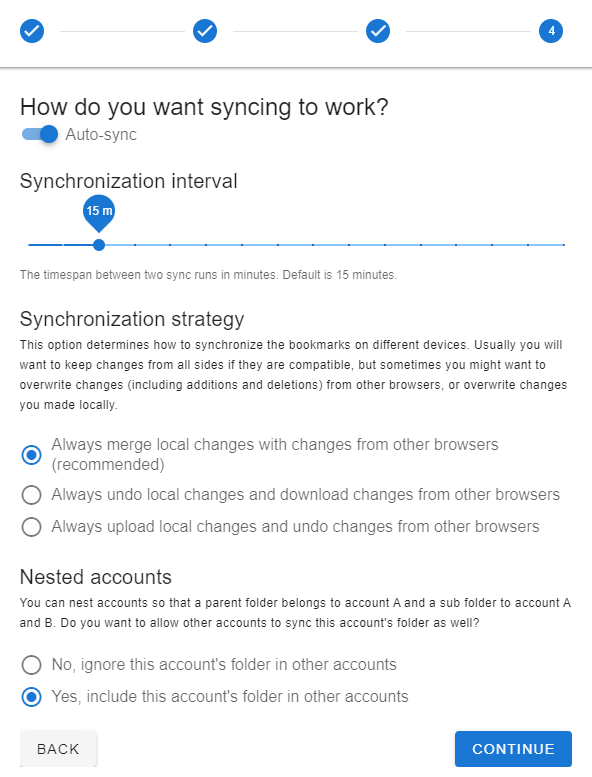
(11) In the last step you can modify sync options (auto sync, synchronization strategy, nested accounts). Then click on Continue.
(12) You are done with settings at this point and you can close the settings tab.
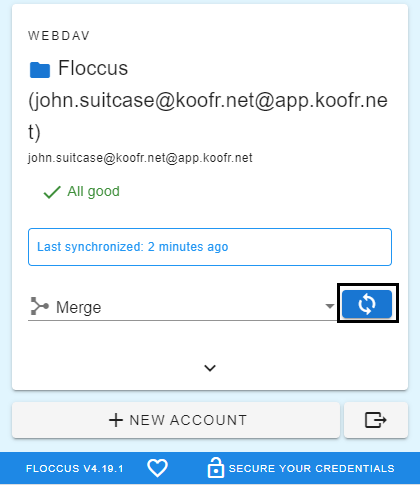
(13) Click on the Floccus bookmark extension and click on Sync button to sync your bookmarks to Koofr.
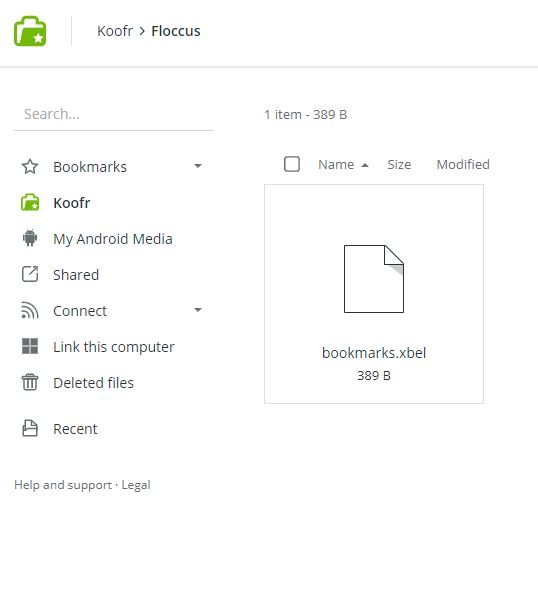
(14) Your Floccus bookmarks are now successfully synced to Koofr. Find them in the Floccus folder in your Koofr account in the bookmarks.xbel file.
Want to talk to us? Join us on the Koofr subreddit!