

Beginner's Guide to Koofr Vault
Get started using Koofr Vault to secure your cloud storage files with client-side encryption.
Written by human for humans
[October 2023 update: from now on, you can use Koofr Vault mobile apps on iOS and Android. You can also download it from F-Droid.]
If you're keen on ensuring maximum security for your precious files, you will want to add as many layers of protection as possible. Sort of like an onion, but with layers made of steel and carbon fiber that cannot easily be penetrated. Well, hackers might try to breach them, but ideally they'll end up crying just as if they were cutting a real onion.
One essential layer to include in your security onion is strong encryption. Koofr Vault is our latest feature that lets you add one or more client-side encrypted folders to your cloud storage that cannot be accessed without a special password. Without it, the files just appear as gibberish and there's no way of knowing what they actually are, let alone their contents.
Read on to find out how to get started with Koofr Vault easily in just minutes.
Getting started
To start using Koofr Vault, you'll first need a Koofr cloud storage account. Log in to Koofr account if you already have one, or else create a new Koofr account.
Once you're signed in to your Koofr account, open the Koofr Vault landing page. Make sure the URL says https://vault.koofr.net to avoid any spoofs or phishing attempts.
Click on Get started in the top right-hand corner of the screen. You'll be asked to grant permission to the Koofr Vault application to access your Koofr account.
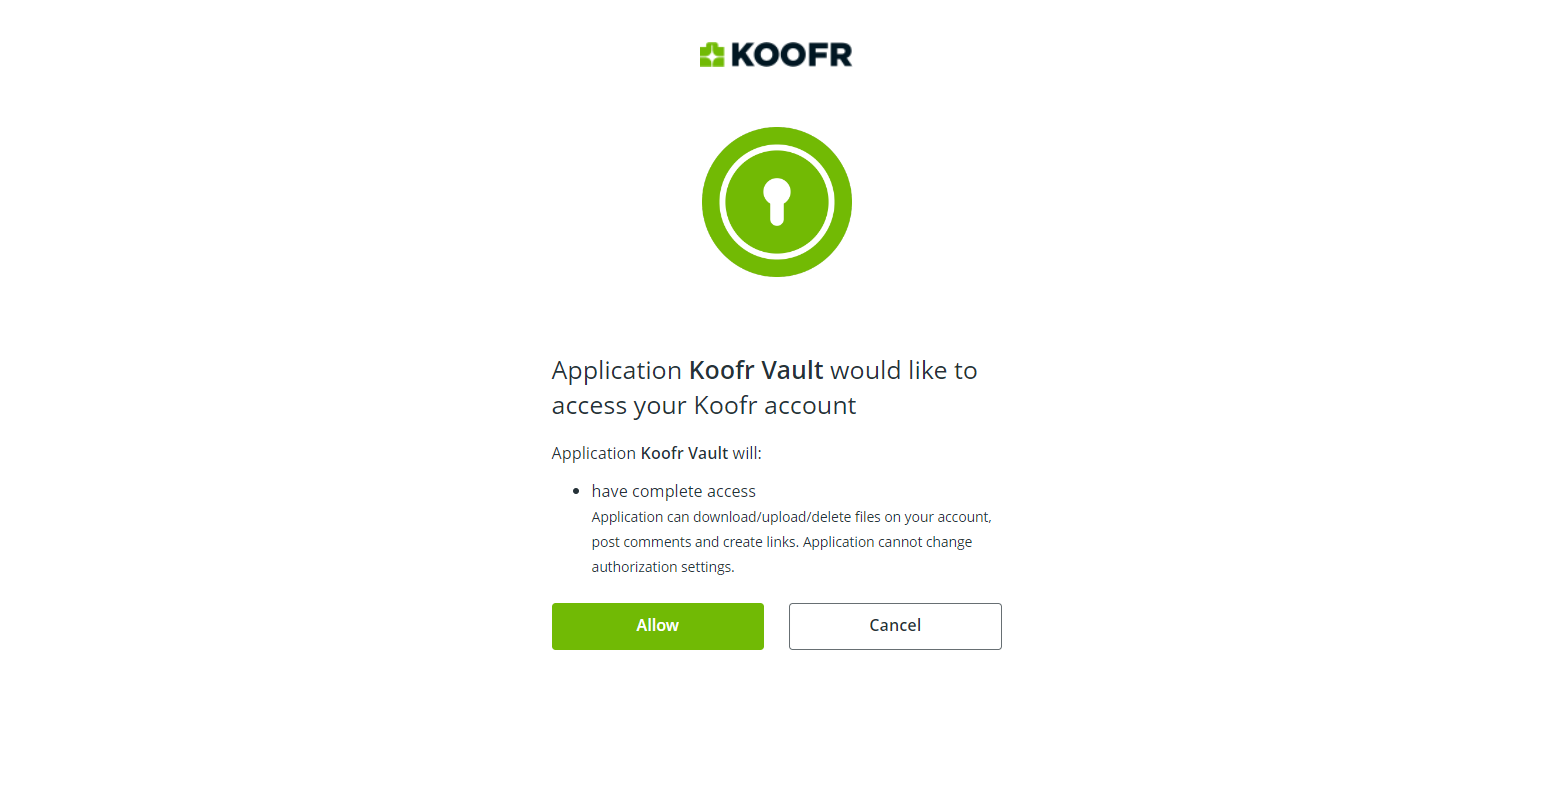
Why the separate application? Well, Koofr Vault is fully open source, while Koofr itself is not. It was essential for us to keep Koofr Vault source code open, so anybody can have a look behind the scenes to see it actually works as promised. You can see it for yourself on GitHub.
If you've followed the steps described above, you will have successfully opened up your Koofr Vault!
Vault overview
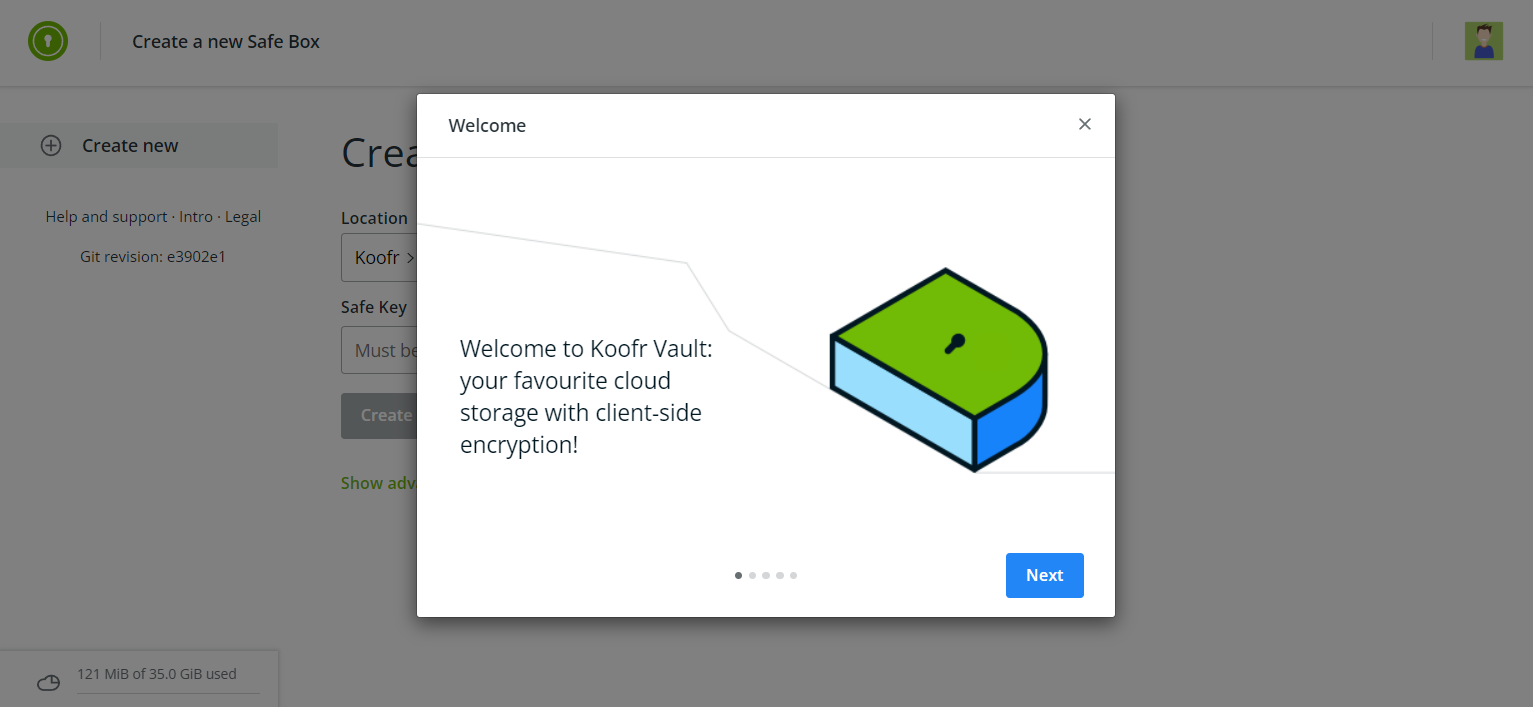
The first time you open your Koofr Vault, you'll be greeted by a short welcome sequence with a recap of how your new client-side encrypted folder works.
Now that you're in your Vault, let's take a moment to look around. The general layout of Koofr Vault is similar to what you're used to from the Koofr web application.
Navigate your Koofr Vault by using the options listed in the left sidebar. This is where all of your Safe Boxes will be listed later on. There's also the Create new option, which will open the Safe Box creation interface.
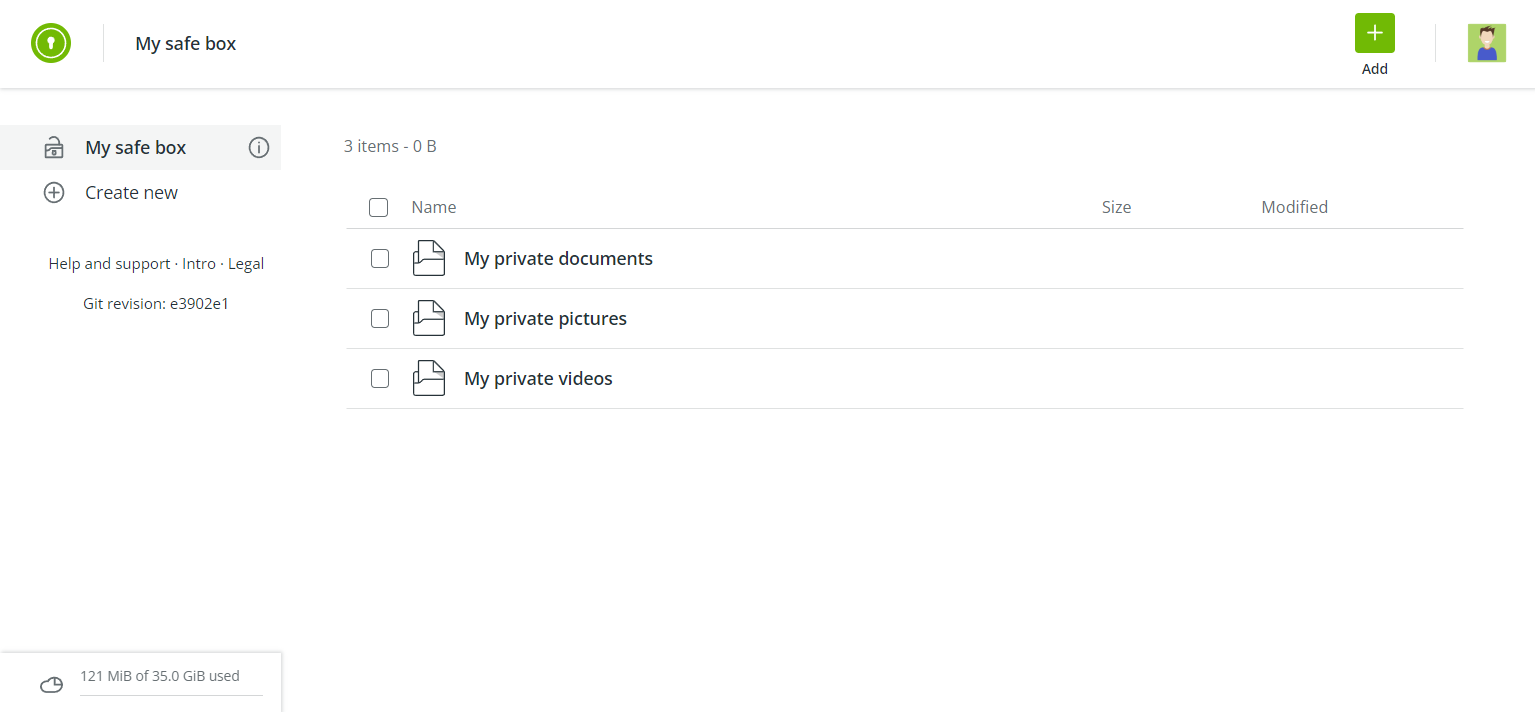
Most of the magic happens in the central area of the screen. Starting out, you've yet to create your first Safe Box, so the creation interface is displayed by default. Otherwise, this is where you will be able to access your encrypted files and folders. It should look and feel familiar, as it's similar to what you're already used to in the Koofr web app.
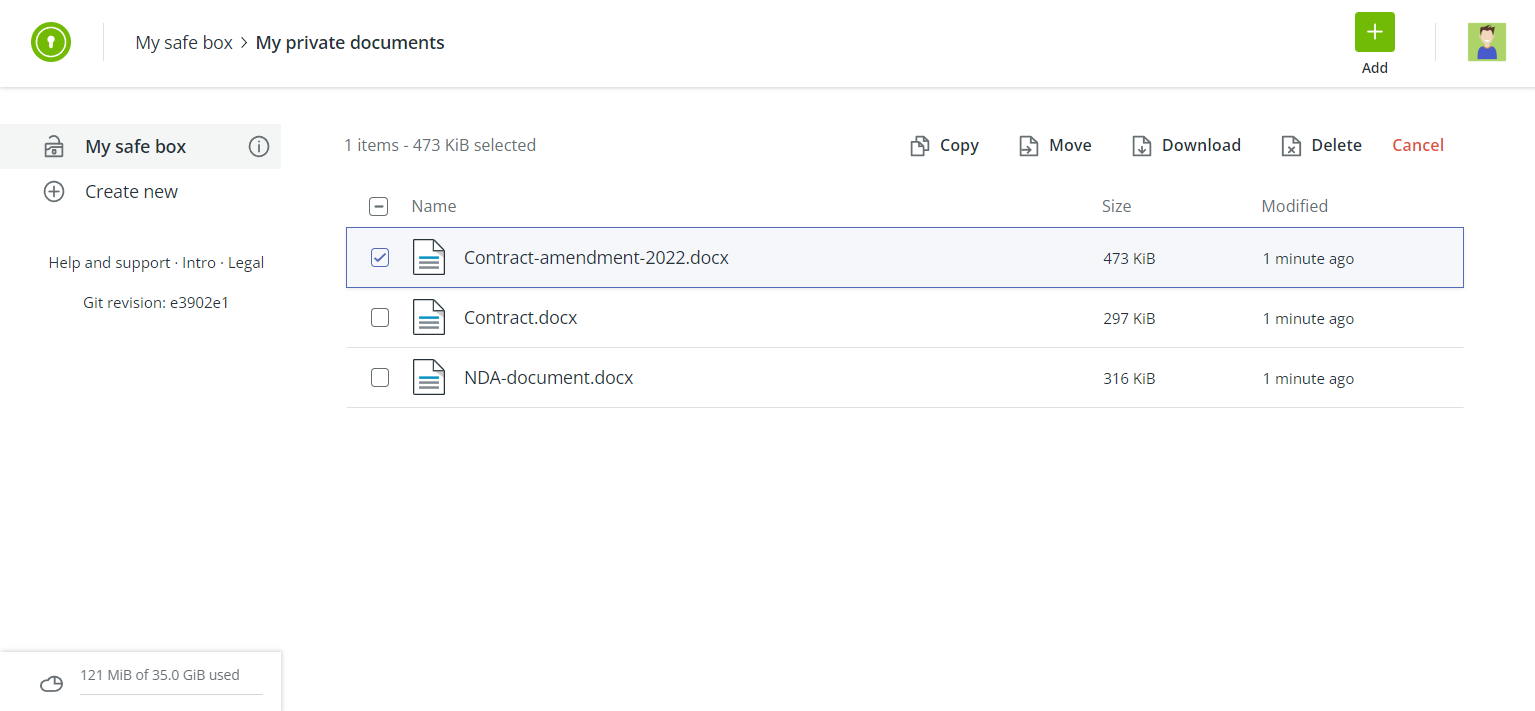
Currently, you can copy, move, download, or delete files in your Koofr Vault or create new text files. Selecting one or more files will display the available operations. Keep in mind that we will continue to improve and expand Koofr Vault features in the future.
In the top-right corner you'll find your profile picture. Clicking on it will display a menu with options for logging out and going to the Koofr web app.
Creating a Safe Box
Now let's create your first Safe Box. By default, the location of your first Safe Box is set to Koofr > My safe box. Click on the Location field to open a pop-up selector. You can create a new folder and select a custom name for it. Add a Safe Key - a password with at least 8 characters (and, obviously, don't use the one we put in as a joke, as it's one of the worst passwords!).

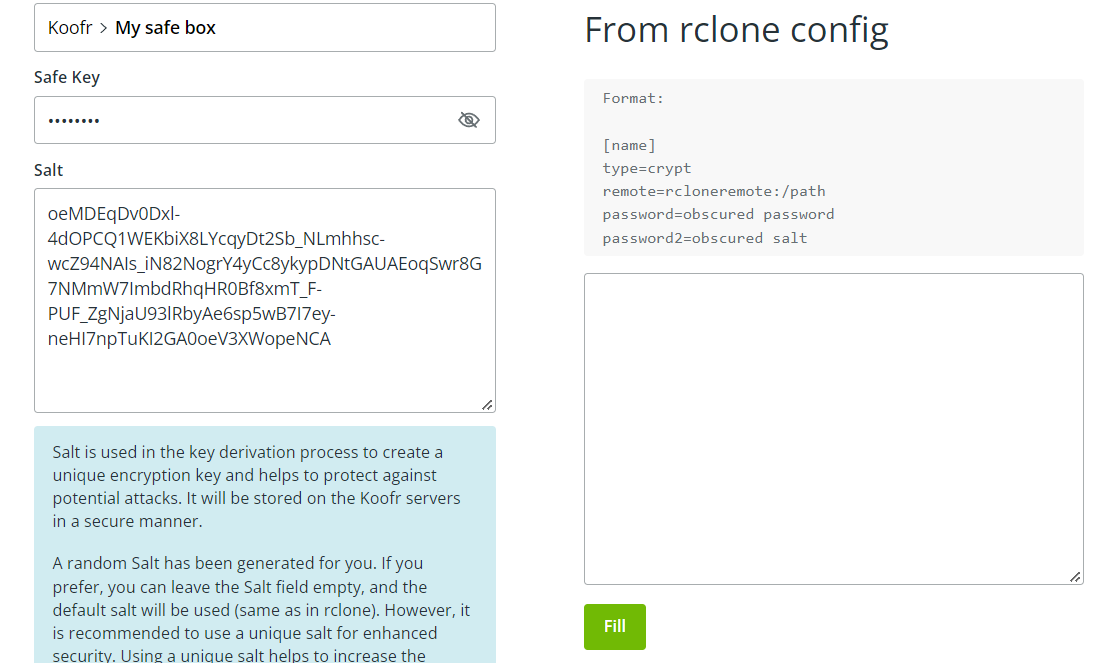
If you know what you're doing, you can click on Show advanced settings to select a custom salt. Salt is a string used in the key derivation process to create a unique encryption key. Koofr Vault generates a Salt for you automatically.
The advanced interface also allows you to import an existing crypt from rclone. We will show you how to do this in an upcoming post, so keep an eye out for it!
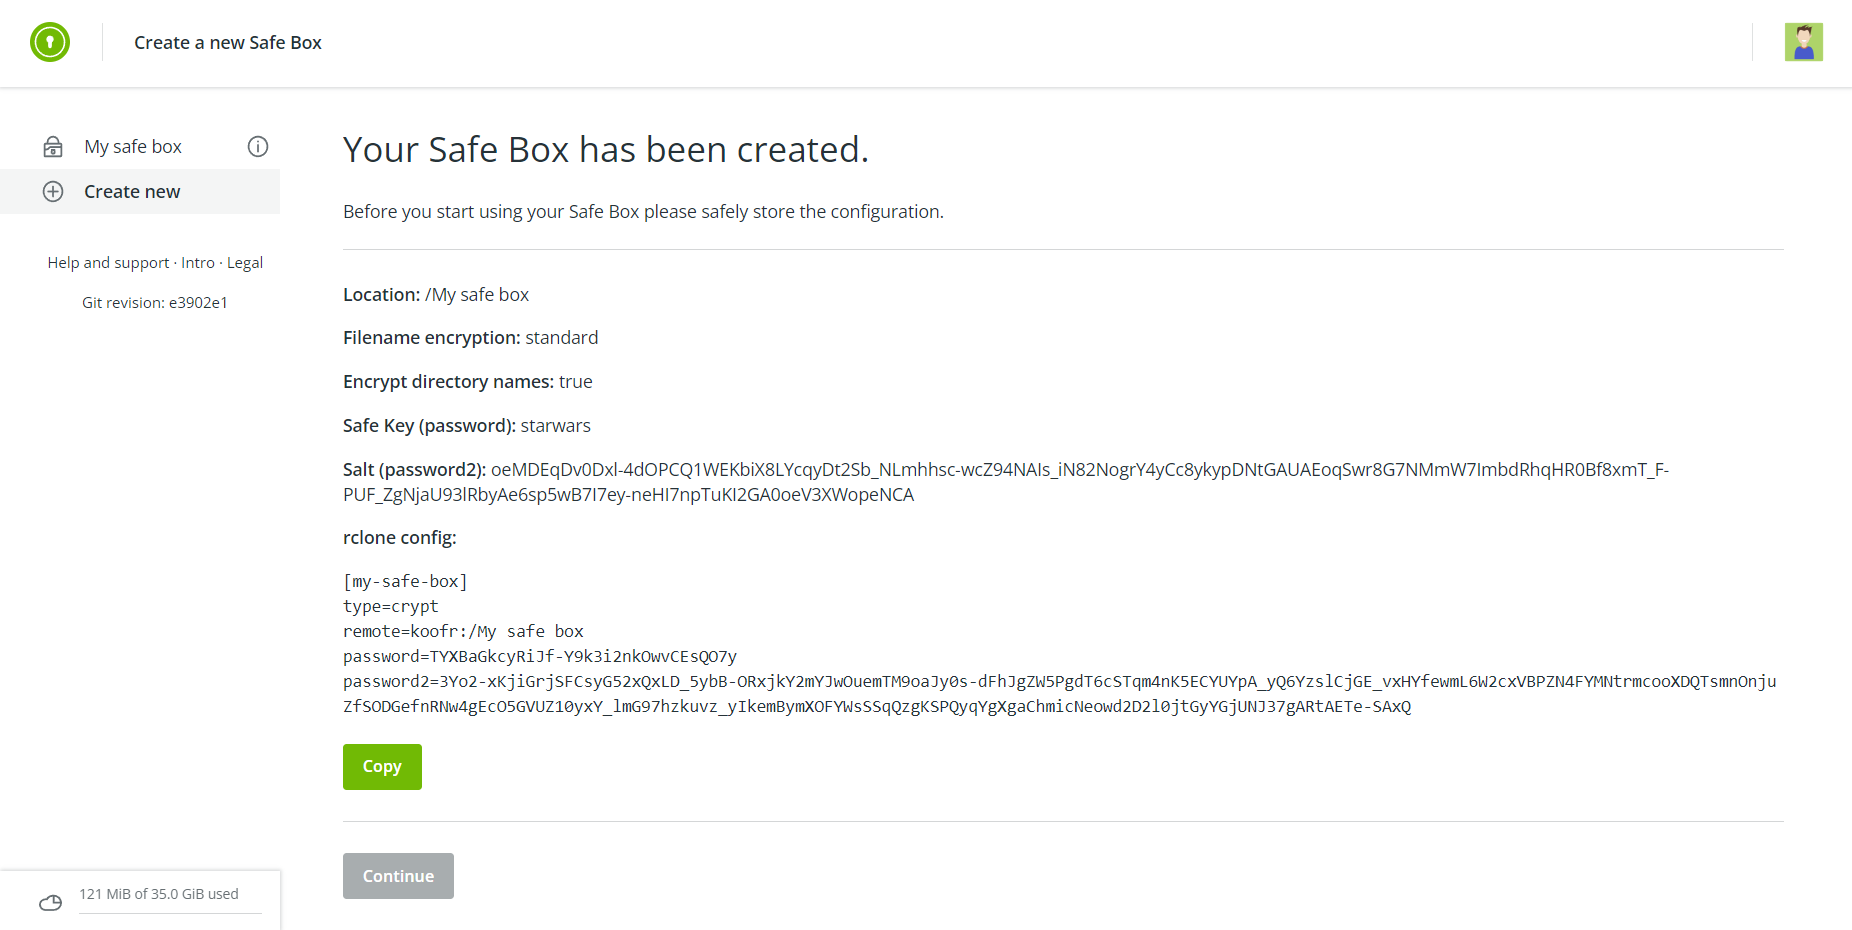
Once you're happy with your configuration, click on the Create button. When the Safe Box has been created, Koofr Vault will display its configuration so you can copy and store it somewhere safe. The config includes the password and salt. Click on the Copy button to copy the config and save it somewhere secure.
Note: If you forget your Safe Key or lose the configuration, you will not be able to access your Safe Box! It cannot be recovered by Koofr because your Safe Key is never sent to or stored on our server.
Keeping your Safe Key safe
To reiterate: keeping your Safe Box configuration details safe and secure is very important, as you will not be able to decrypt any files or folders that were encrypted using that configuration.
Our recommendation for this is to use a password manager you trust and save the copied config information as a secret. There are several good and open source options available, for example KeePassXC or Enpass. With either of these options, you can use Koofr to sync your password database to.
Uploading files to Koofr Vault
Uploading to Koofr Vault is very easy. In the web application, you can simply drag and drop files into the browser window. Client-side encryption means that your files are encrypted locally on your computer using your Safe Key and Salt. Only after encryption will your files actually be sent to Koofr's servers.
To upload files from your desktop without using the Koofr Vault web app, you can use the rclone command-line tool. Behind the scenes, rclone works exactly like Koofr Vault: it encrypts your files locally using the given configuration, then sends the files to your Koofr cloud storage.
If you'd like to know more about this, you can read our step-by-step guide on client-side encryption with rclone. We'll publish an updated guide on how to use rclone with Koofr Vault in an upcoming blog post.
Have you tried using Koofr Vault yet? We would love to hear your feedback! Join our community on Reddit and talk to us!